

This post contains affiliate links. Thank you for supporting Beneficial Bento!
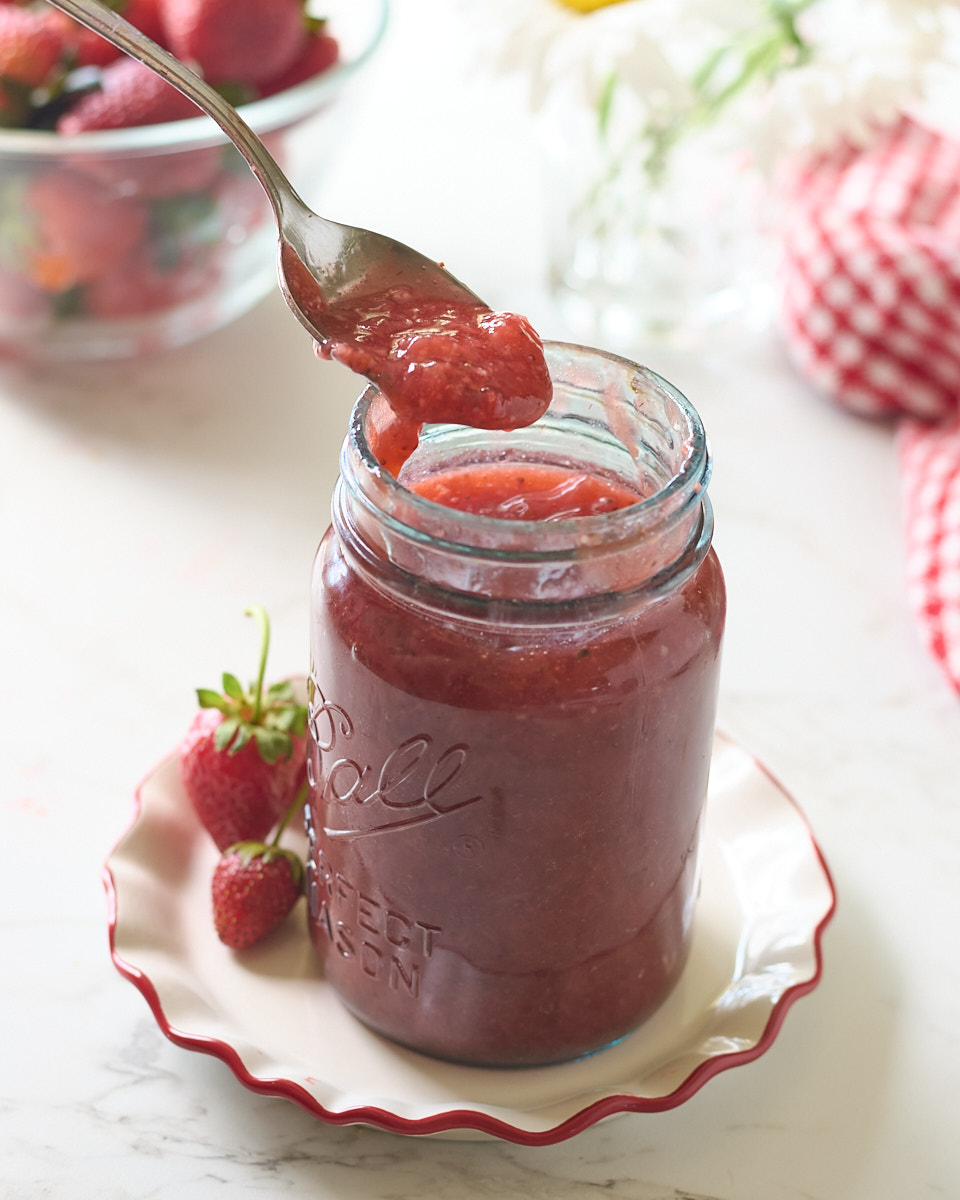
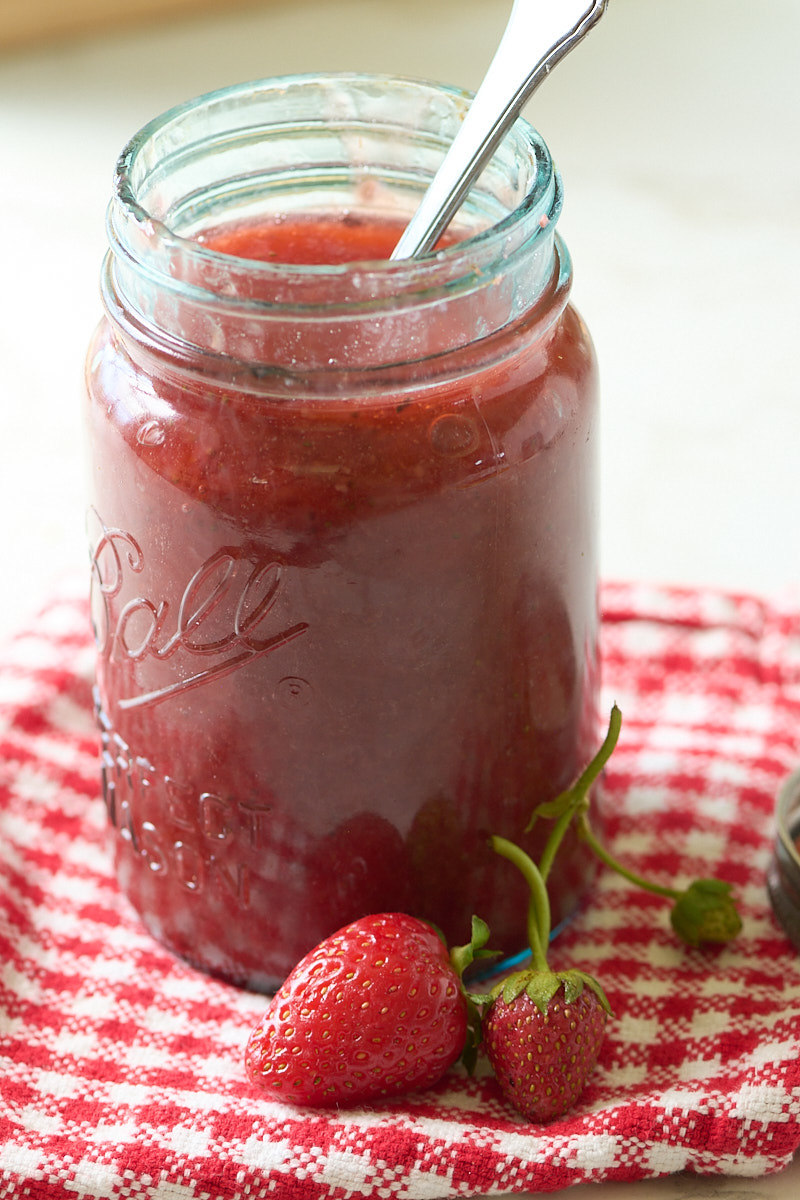
Sweet and juicy with fresh strawberry flavor, it's hard to imagine this strawberry jam has reduced carbs and is made without much sugar. But believe it, friends! And it can be made in less than 20 minutes.
If you've ever tried making low sugar jam with low-sugar pectin and ended up with something that ran off your toast like syrup, you're not alone.
I spent years trying to make thick, spreadable jam that didn't require cups of sugar. Every batch with low-sugar pectin turned into pancake topping, which was fine for that but completely missed the mark when I just wanted jam that stayed put on a slice of bread. My family liked it, but it wasn't what I was going for.
Then I found a product called EZ Gel that gave me hope that homemade low sugar jam could still be possible. After making six perfect batches of strawberry jam just this summer alone, I know I finally have the low sugar strawberry jam I always wanted, and it's honestly the best I've ever made.
In this post I'll show you how to get perfectly thick, spreadable, delicious strawberry jam with a lot less sugar.
Jump to:
Notes from Kristie's Kitchen
I tried to make low sugar jam for many years using low sugar pectin but with pretty lackluster results. Now that I've finally created a recipe that works, I couldn't wait to share it here with you!
- Makes: This recipe will give you about 3 cups of jam, which is enough to fill a pint sized jar, with about a cup left over.
- Prep time/ actual time spent in the kitchen: 15 minutes, 20 minutes tops.
- Cooking time: about 10 minutes of that time is the cooking time.
- The secret to this working and staying low in sugar is a product called EZ Gel (or Clear Gel). Read on to learn why it works so well.
- An important note about this low-sugar strawberry jam recipe: it cannot be preserved using the water bath canning method. It is meant to be eaten fresh, but can also can be frozen for up to a year.
A Quick Story About Jam (and Why We Got So Hooked on Sugar)
Traditional jam recipes have such a high sugar content because sugar acts as both a preservative and a gelling agent when combined with the natural pectin in fruit. Early American settlers and European cooks relied on this high-sugar formula not just for taste but for shelf stability. The standard ratio was often one cup of sugar for every cup of fruit (wow!), sometimes even more depending on the fruit's pectin content. That method produced reliable, thick jam that could sit on a pantry shelf all winter long.
Over time, those traditional jam recipes became the gold standard, and we inherited the belief that you need equal parts sugar and fruit to get jam to set properly. But the truth is, with modern refrigeration and freezers, we don't need all that sugar for preservation anymore. And with the right thickening agent, we don't need it for texture either. That's where this recipe steps in, cutting the amount of sugar dramatically while delivering all the jammy goodness you actually want.
Why This Low Sugar Strawberry Jam Recipe Actually Works
This simple recipe succeeds where low-sugar pectin fails because it uses a modified food starch called EZ Gel (or Clear Gel) instead of pectin. Here's the thing about pectin: it needs a specific balance of sugar, acid, and heat to activate properly, and when you reduce the sugar too much, the whole system falls apart. Low-sugar pectin is supposed to compensate for that, but in my experience across multiple brands and attempts, it just doesn't thicken reliably. You're left guessing and often disappointed.
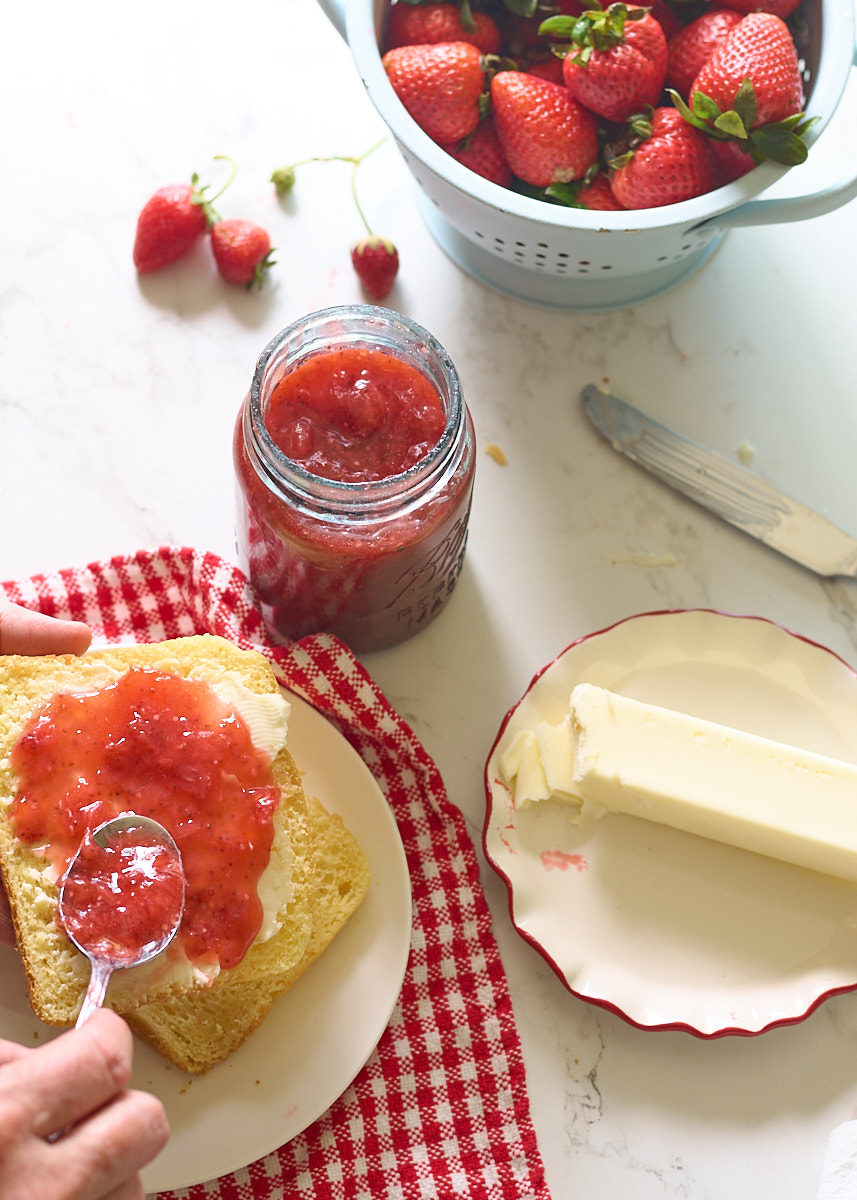
EZ Gel works differently. It's a cooking starch that thickens as it heats and cools, regardless of sugar content. You stir it into the simmering fruit mixture, and it does its job without requiring a precise chemical reaction. This means you can dial the sugar way down and still get a jam that spreads like the real deal. The texture is smooth, thick, and holds its shape on a spoon or a piece of toast.
I also learned through trial and error that you need a little real sugar alongside the zero-calorie sweetener. Using only erythritol-based sweeteners like Lakanto or Swerve gives the jam a slightly artificial, "diet" aftertaste that's just not as satisfying. Adding one-third cup of regular sugar balances that out beautifully and keeps the flavor bright and natural, while still slashing total carbs. The lemon juice plays a critical role too. It helps the EZ Gel do its work and locks in that gorgeous red color strawberries are famous for.
Ingredients List
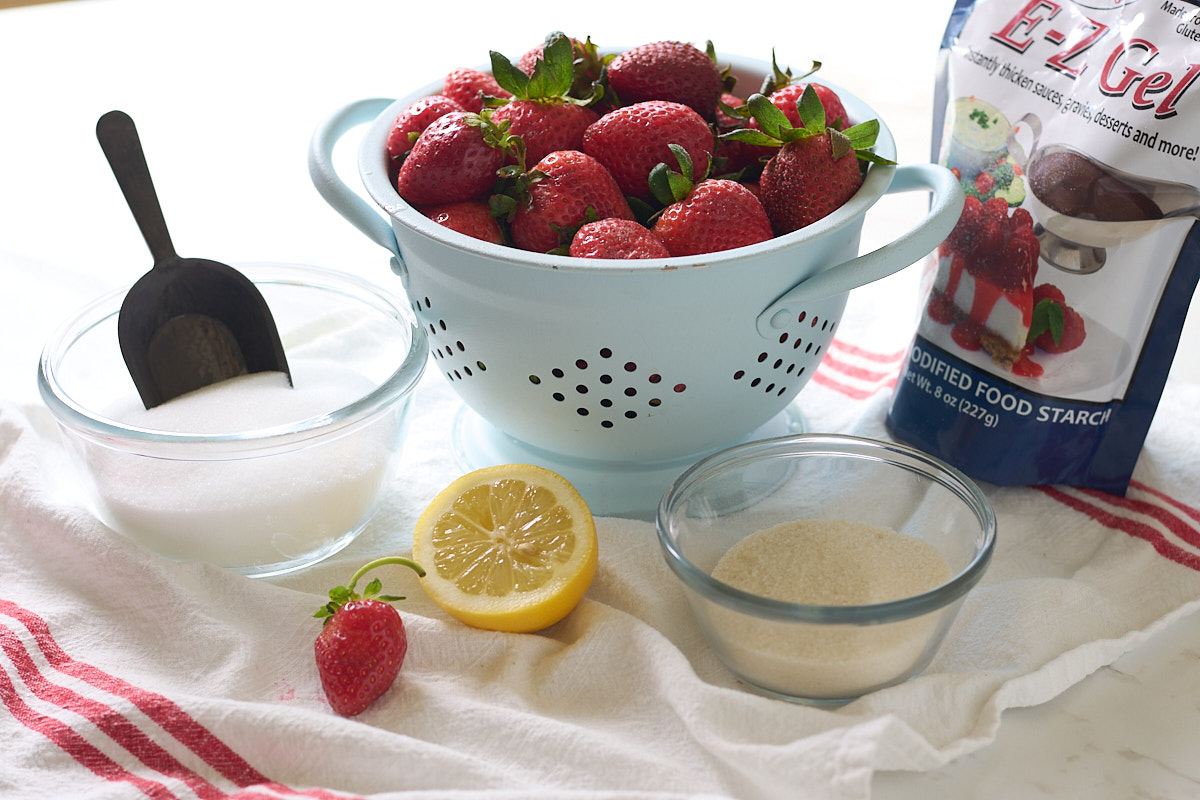
- Strawberries (4 cups): Fresh, ripe strawberries deliver the brightest color and most intense flavor, but frozen strawberries work just as well here. If you're using frozen, thaw them completely and measure after thawing so your quantity is accurate. Strawberries are naturally lower in pectin than fruits like apples or citrus, which is part of why traditional low-sugar pectin struggles with them. That's also why EZ Gel is such a perfect match for this recipe. Look for berries that are deep red all the way through with no white or green shoulders, those are the ones that'll give you the most flavor and the prettiest jam color.
- Zero-calorie granular sweetener (1 cup): I use Lakanto or Swerve, both of which are erythritol-based and measure one-to-one like sugar. These sweeteners contain sugar alcohols, which means you can subtract fiber and sugar alcohol grams from total carbs to calculate net carbs. That means that even though one serving of jam has 28 grams of carbs, it has 17 grams of fiber which you can subtract from the carbs leaving you with only 11 grams of net carbs per serving. If you substitute a different sweetener, make sure it's granulated (not liquid) and designed for baking and cooking. Stevia alone would be too concentrated, and something like regular Splenda doesn't have the right texture you need here.
- Sugar (⅓ cup): This small amount of real sugar is non-negotiable in my opinion. I tested batches with zero sugar and all erythritol, and the flavor was noticeably flat with a cooling aftertaste that lingered. Just this one-third cup rounds out the sweetness and makes the jam taste like jam, not like a weird sugar-free science project. It also helps preserve the texture and color more naturally. You're still cutting the total sugar by more than half compared to traditional recipes that call for 4 cups or more.
- EZ Gel or Clear Gel (⅓ cup): This is the magic ingredient. EZ Gel is a modified cornstarch designed for thickening without the gummy texture regular cornstarch can sometimes give. Clear Gel is essentially the same product under a different brand name and works identically. You'll find these in the canning section of most grocery stores, often near the pectin and canning jars. Do not substitute regular cornstarch or flour, they won't give you the same smooth, glossy texture. This stuff thickens as the jam cools, so don't panic if it looks a little loose right after you take it off the heat. Give it five minutes, and you'll see it transform.
- Lemon juice (1 tablespoon): Fresh or bottled both work. Lemon juice adds a subtle brightness to the the jam, but more importantly, the acid interacts with the EZ Gel and helps it thicken properly. It also preserves the vibrant red color by preventing oxidation. Without it, your jam might turn a duller, darker shade. One tablespoon is just enough to do the job without making the jam taste lemony.
Tools You Might Need
The beauty of this recipe is how minimal the equipment list is. You really don't need any kind of specialized gear.
- Medium saucepan: You'll cook everything in one pot, so make sure it's big enough to hold 4 cups of strawberries plus liquids without crowding. A 3-quart saucepan works perfectly.
- Wooden spoon or silicone spatula: Constant stirring is key to prevent scorching and ensure even thickening, so pick a utensil that's comfortable to hold and won't scratch your pan.
- Mason jars with airtight lids: Since this is freezer jam, you'll pour the finished product into jars just like traditional canning, but you'll store them in the freezer instead of processing them in a water bath. Half-pint or pint jars both work great. Leave a little headspace at the top to allow for expansion when the jam freezes.
- Potato masher: This helps to crush and soften the berries as they cook, giving them a nice jammy texture.
But remember: If you don't have mason jars, any freezer-safe container with a tight lid will do. I just prefer mason jars because I always have some on hand, and they look nice if I'm giving jam as a gift.
The point is, you don't need anything fancy or expensive to pull this off.
Homemade Strawberry Jam, Step by Step
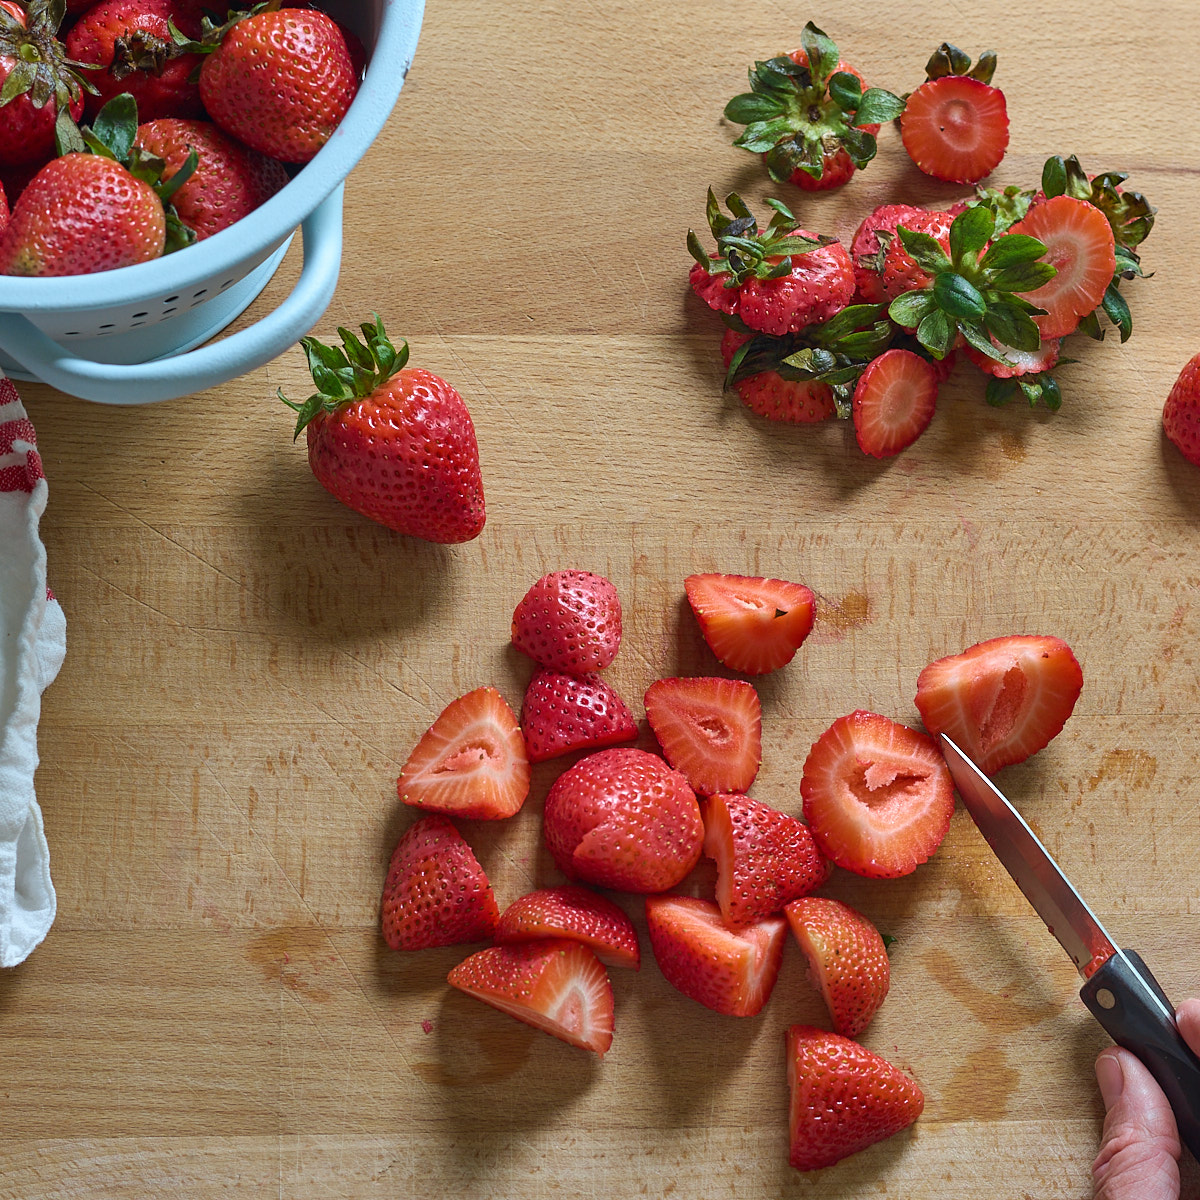
Step 1. Prep your strawberries: Wash them well or soak them in cold water, then hull and remove the stems. What I do is just cut the tops off, and then cut any large berries into smaller, uniform pieces so they cook evenly. You want chunks that are roughly bite-sized.
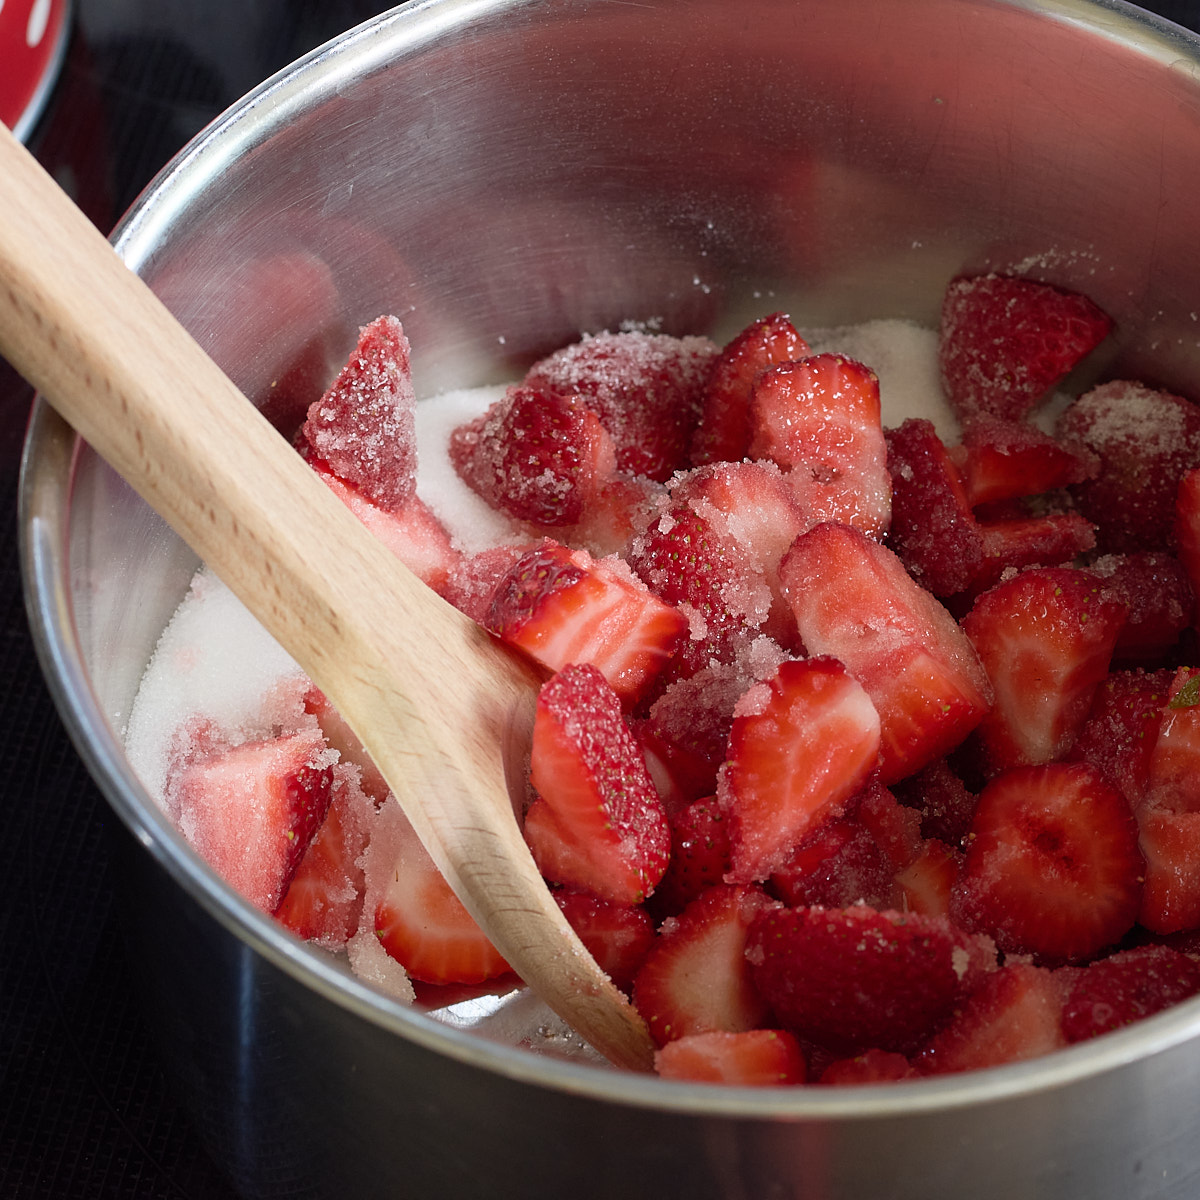
Step 2. Combine and heat: Add the strawberries, both sweeteners, and lemon juice to your saucepan. Set the heat to medium-high and stir constantly as the mixture comes up to temperature. This stirring prevents the sugar from scorching. You'll see the berries start to release their juices in a couple of minutes, and the whole mixture will begin to bubble gently. Once it reaches a simmer, reduce the heat to medium-low.
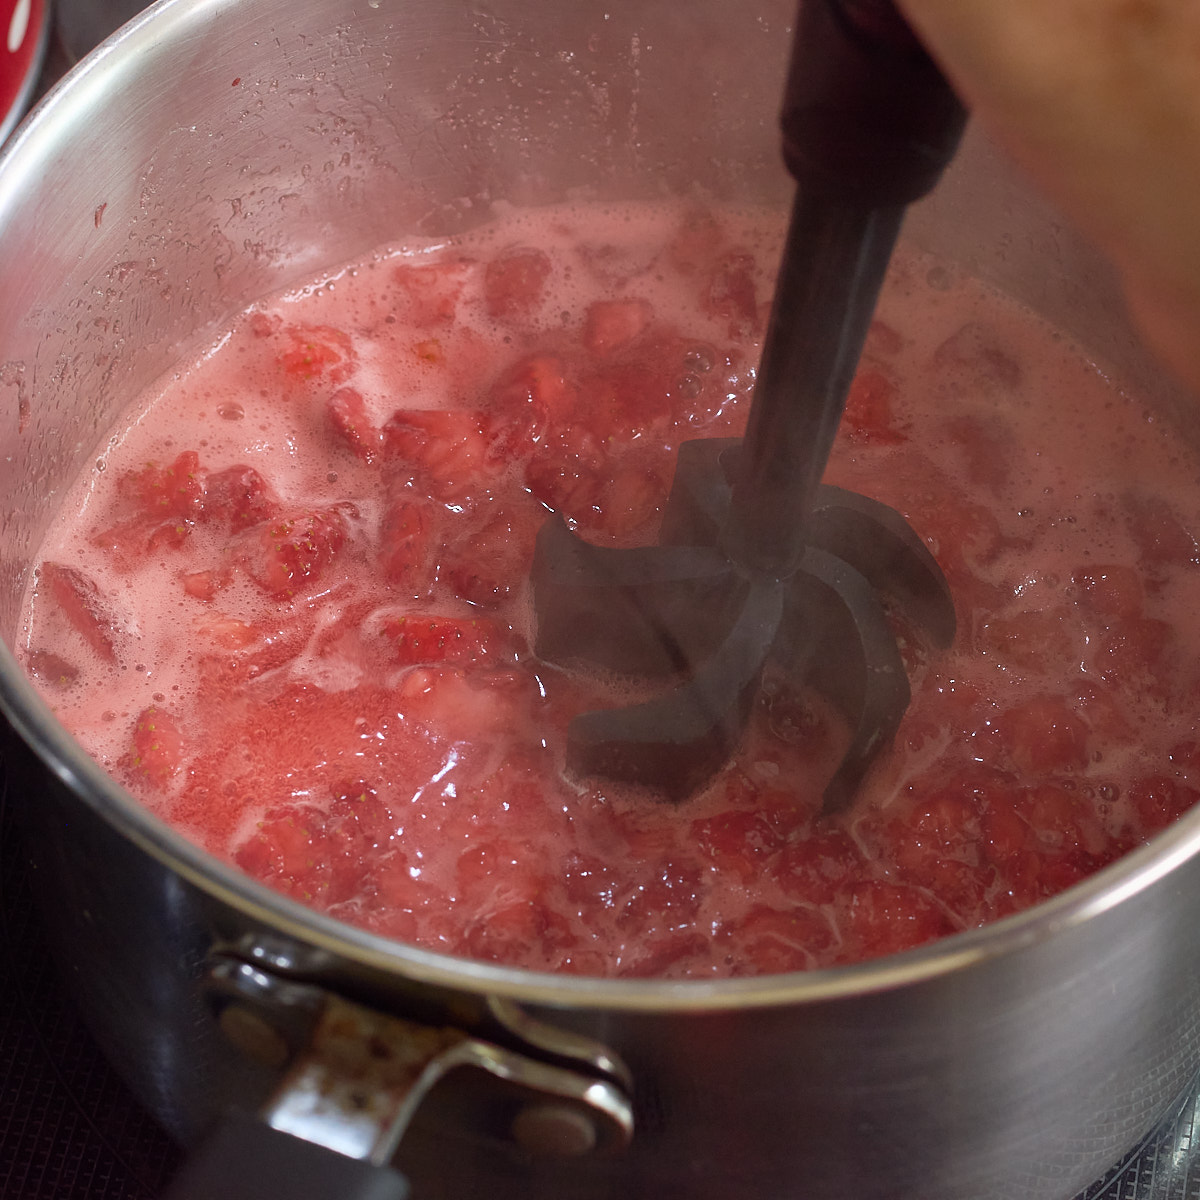
Step 3. Simmer until the berries soften: Keep cooking on medium-low heat, stirring frequently, for about 5 to 7 minutes. The berries will break down and soften, and the liquid will reduce slightly. The mixture should look glossy and will smell delicious. I like to use a potato masher to crush the berries while they cook to help them become tender and jammy.
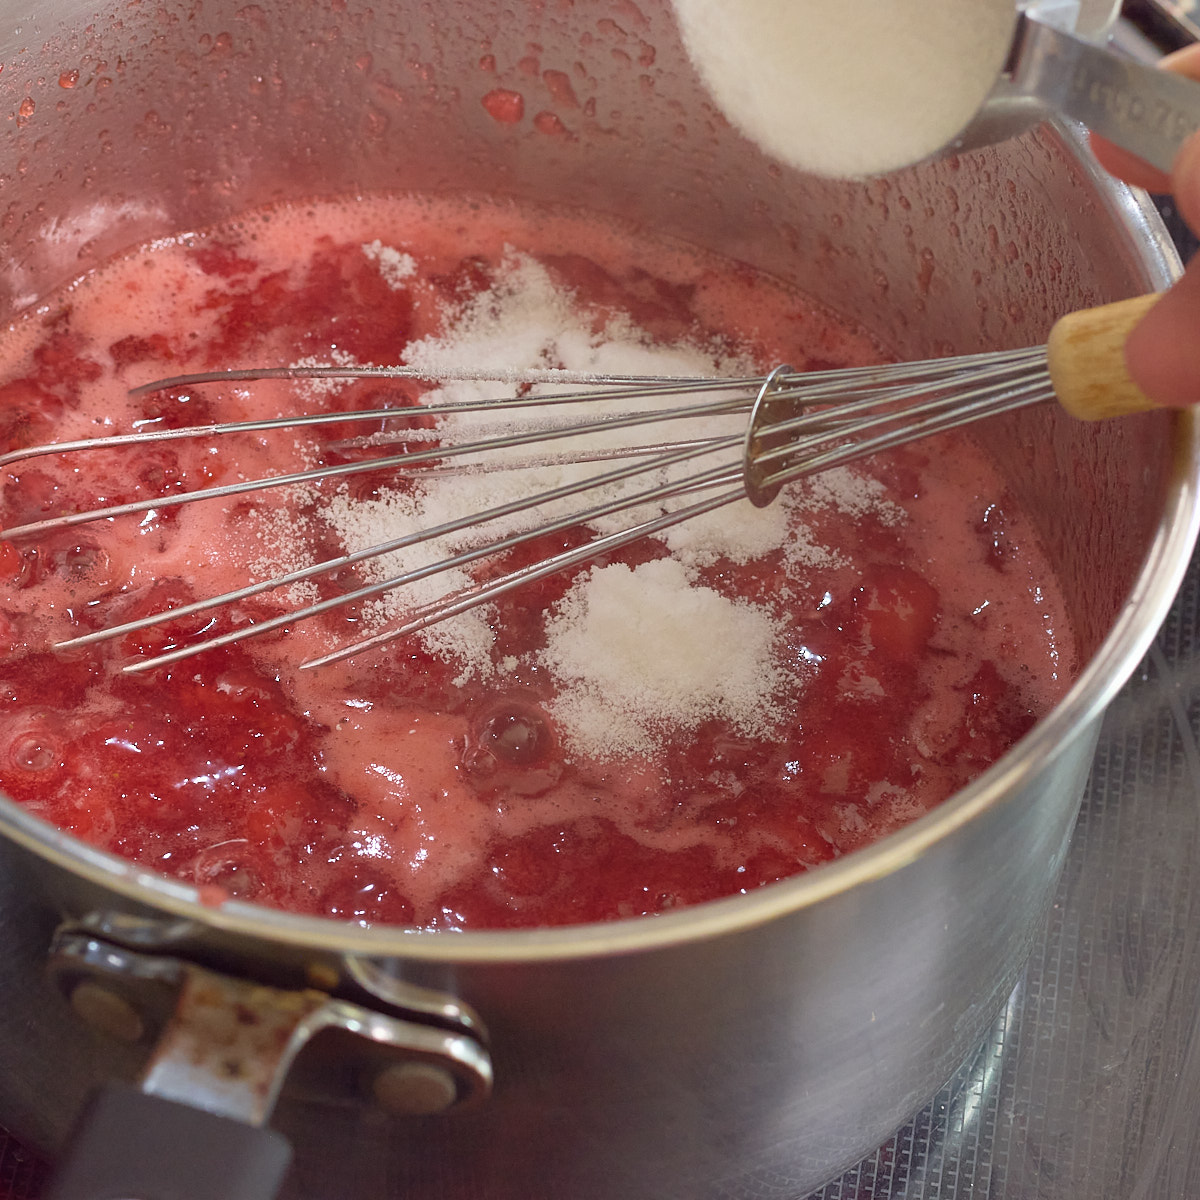
Step 4. Stir in the EZ Gel: Pour the EZ Gel directly into the simmering fruit, whisking constantly as you add it. Whisk for another minute or so until all the dry powder is fully incorporated and the mixture looks smooth and glossy. There shouldn't be any clumps or streaks of white powder. The jam will look a little thinner than you'd expect at this stage, and that's completely normal.
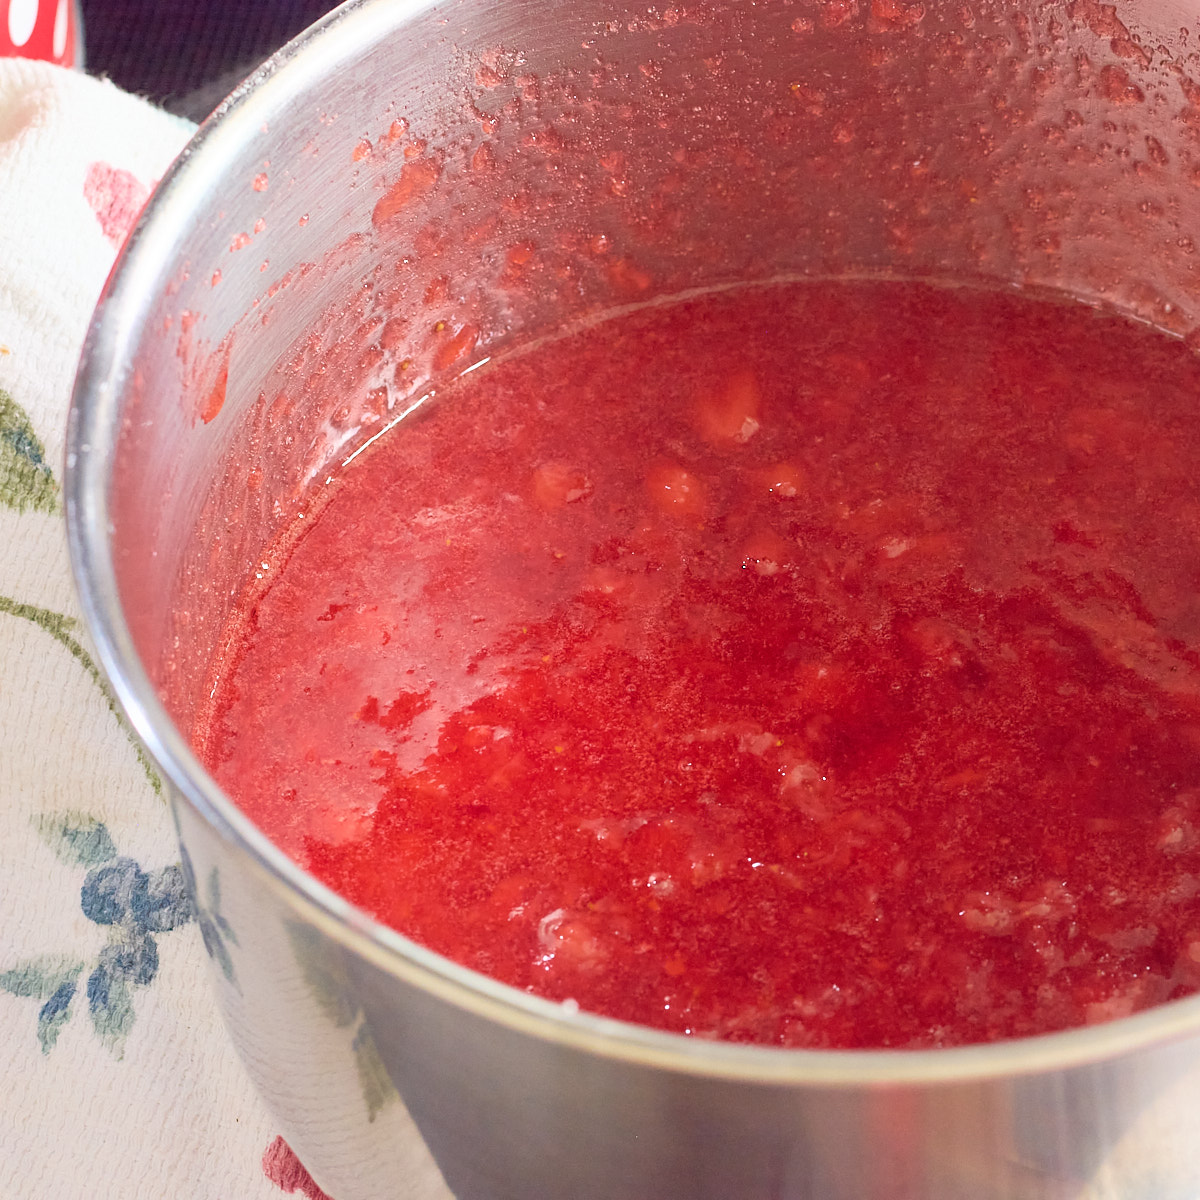
Step 5. Let it stand and thicken: Remove the pan from the heat and let the jam sit undisturbed for about 5 minutes. As it cools, the EZ Gel activates and the hot jam thickens significantly. After 5 minutes, give it a gentle stir and check the consistency. It should coat the back of a spoon and hold its shape. If it's still a little loose, give it another few minutes.
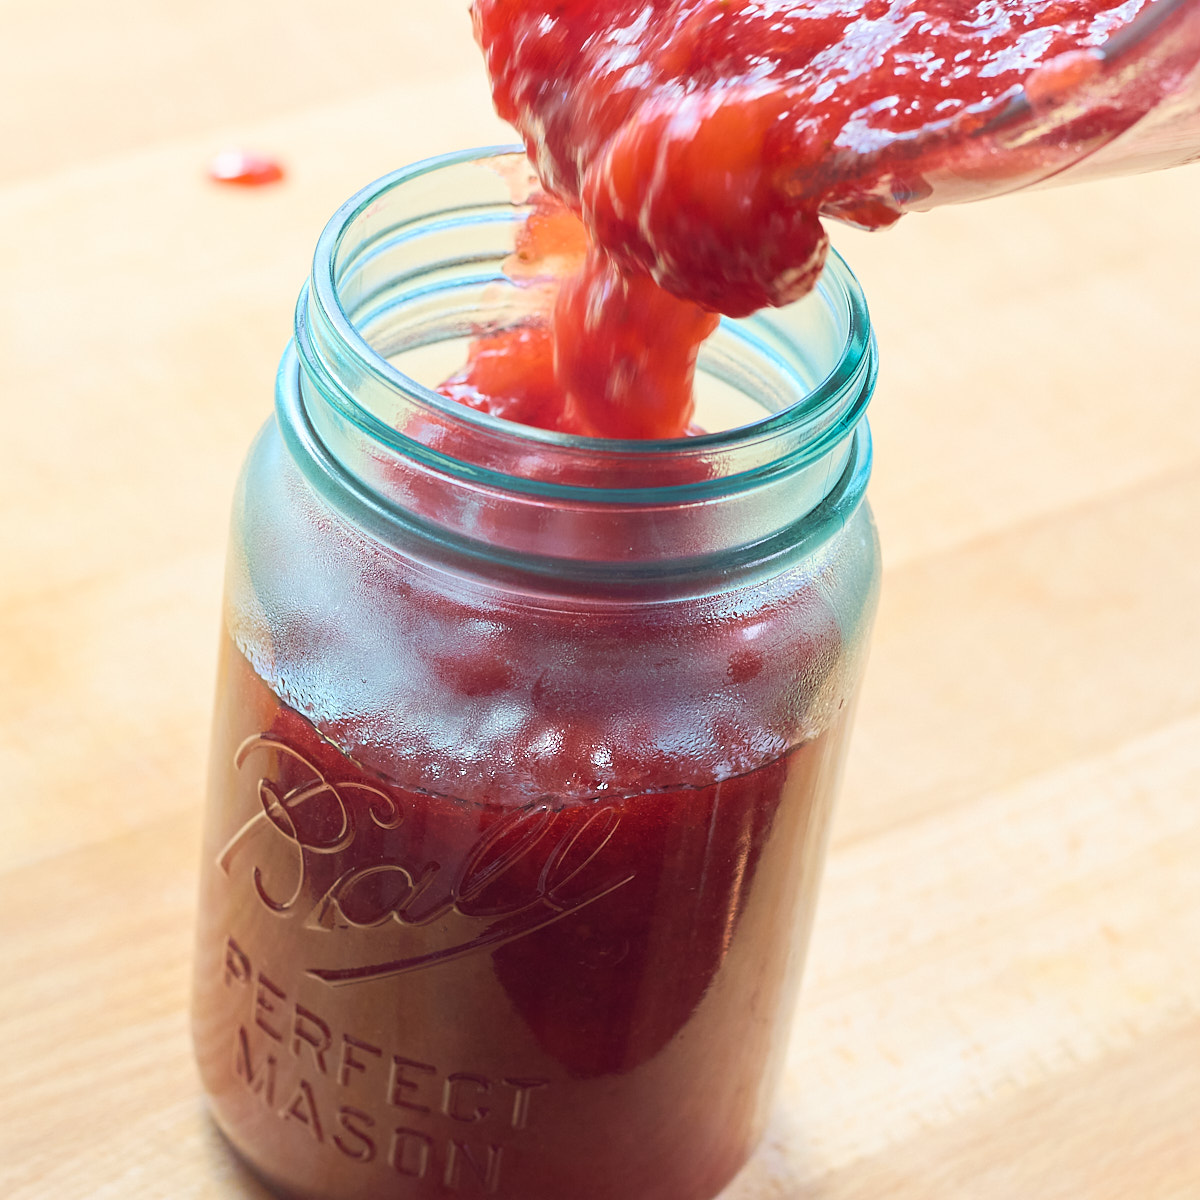
Step 6. Pour into jars and store: Transfer the room temperature jam into clean mason jars, leaving about half an inch of headspace at the top to allow for expansion in the freezer. Seal with airtight lids. You can keep one jar in the refrigerator to use right away (it'll stay good for about a month), and pop the rest in the freezer where they'll keep beautifully for up to a year. The texture, color, and flavor hold up perfectly.
Easy Low Sugar Strawberry Jam Recipe (no pectin)
Fresh and fruity with delightful strawberry sweetness, it's hard to imagine this strawberry jam has reduced carbs and is so low in sugar. But believe it, friends! And it can be made in less than 20 minutes.
- Prep Time: 10 minutes
- Cook Time: 5-7 minutes
- Total Time: 0 hours
- Yield: 3 cups of strawberry jam 1x
- Category: sauces
- Method: stove top
- Diet: Low Calorie, low sugar, Low-Carb
Ingredients
- 4 cups fresh strawberries
- 1 cup zero calorie granular sweetener, like Lakanto or Swerve brand
- ⅓ cup sugar
- ⅓ cup EZ Gel or Clear Gel
- 1 tablespoon lemon juice
Instructions
- Prep your strawberries: Wash them well or soak them in cold water, then hull and remove the stems. Cut any large berries into smaller, uniform pieces so they cook evenly. You want chunks that are roughly bite-sized. If you leave them too big, they'll take longer to soften and release their juices. If you chop them too small, you'll end up with more of a puree than a chunky jam. Aim for a mix of textures.
- Combine and heat: Add the strawberries, both sweeteners, and lemon juice to your saucepan. Set the heat to medium and stir constantly as the mixture comes up to temperature. This constant stirring prevents the sugar from settling on the bottom and scorching. You'll see the berries start to release their juices in a couple of minutes, and the whole mixture will begin to bubble gently. Once it reaches a simmer, reduce the heat to low.
- Simmer until the berries soften: Keep cooking on low heat, stirring frequently, for about 5 to 7 minutes. The berries will break down and soften, and the liquid will reduce slightly. The mixture should look glossy and smell incredible. I like to use a potato masher to crush the berries while they cook to help them become tender and jammy.
- Stir in the EZ Gel: Pour the EZ Gel directly into the simmering fruit, stirring constantly as you add it. Keep stirring for another minute or so until all the dry powder is fully incorporated and the mixture looks smooth and glossy. There shouldn't be any clumps or streaks of white powder. The jam will look a little thinner than you'd expect at this stage, and that's completely normal.
- Let it stand and thicken: Remove the pan from the heat and let the jam sit undisturbed for about 5 minutes. As it cools, the EZ Gel activates and the jam thickens significantly. After 5 minutes, give it a gentle stir and check the consistency. It should coat the back of a spoon and hold its shape. If it's still a little loose, give it another few minutes.
- Pour into jars and store: Transfer the jam into clean mason jars, leaving about half an inch of headspace at the top to allow for expansion in the freezer. Seal with airtight lids. You can keep one jar in the refrigerator to use right away (it'll stay good for about a month), and pop the rest in the freezer where they'll keep beautifully for up to a year. When you're ready to use a frozen jar, just thaw it in the fridge overnight or on the counter for a few hours. The texture, color, and flavor hold up perfectly.

Notes
If you don't have access to fresh berries, this recipe works well with frozen berries. Thaw the strawberries before measuring them for the best results.
EZ gel is my favorite brand for thickening the jam. Clear Gel is very similar and can work as well.
There are 2 brands of zero calorie granular sweetener that I recommend: Swerve and Lakanto (my preferred brand).
Nutrition
- Serving Size: 2 tablespoons
- Calories: 51
- Sugar: 8 g
- Sodium: 0.9 mg
- Fat: 0.2 g
- Carbohydrates: 28.7 g
- Fiber: 17 g
- Protein: 0.3 g
- Cholesterol: 0 mg
Save Money, Save Time When You Make this Homemade Strawberry Jam Recipe
🍓Saving Money:
The best way to save money on this recipe is to make a lot of it during strawberry season when the price of berries are lowest, and freeze the extra. And because it freezes so beautifully, you can make a batch whenever strawberries are on sale and enjoy that fresh, bright flavor all year long.
If strawberries are not currently in season, another way to save money on this recipe is to make it with frozen berries when you see them on sale at the grocery store. I've made this recipe using frozen berries a few times, and it's just as delicious. Check out the Notes section on the recipe card for more info on how to do that.
🍓Saving Time:
The best way I know to save time on this recipe is to treat it like meal prep. Make it in small batches, or make a double batch or even a triple batch. Do the work and clean up once, and enjoy the delicious jam for a long time to come.
Trust me, once you see how easy this is and how well it works, it's going to become your go-to jam recipe, like it is mine.
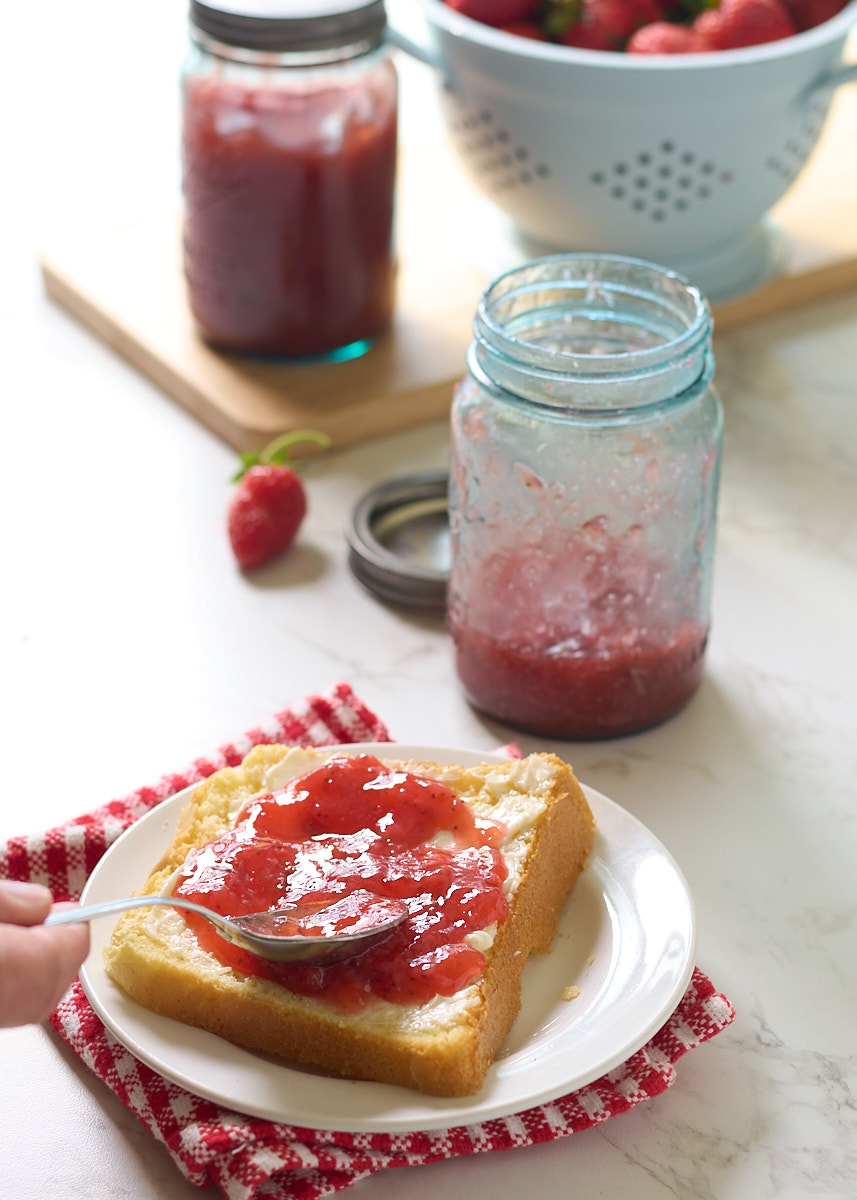
What to Pair with This Low Sugar Strawberry Jam
This jam works for breakfast, snacks, and even dessert. Slather it on warm, flaky biscuits fresh out of the oven for a classic pairing that never gets old. It's also perfect on pancakes, waffles, or French toast sticks when you want something sweet but not syrup-heavy. I love it stirred into a bowl of oatmeal for an extra fruity boost, or spread onto banana protein pancakes for a post-workout treat. And if you're feeling fancy, spoon it over mini cheesecakes or spoon it over ice cream. The bright strawberry flavor shines no matter how you serve it, and because it's thick and spreadable, it works so well in lots of recipes.
The truth is, once you have a jar of this in your fridge, you'll find yourself reaching for it constantly. It's that good.
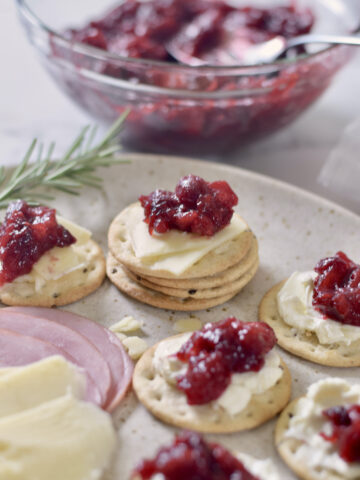
More Sweet & Fruity Topping Recipes
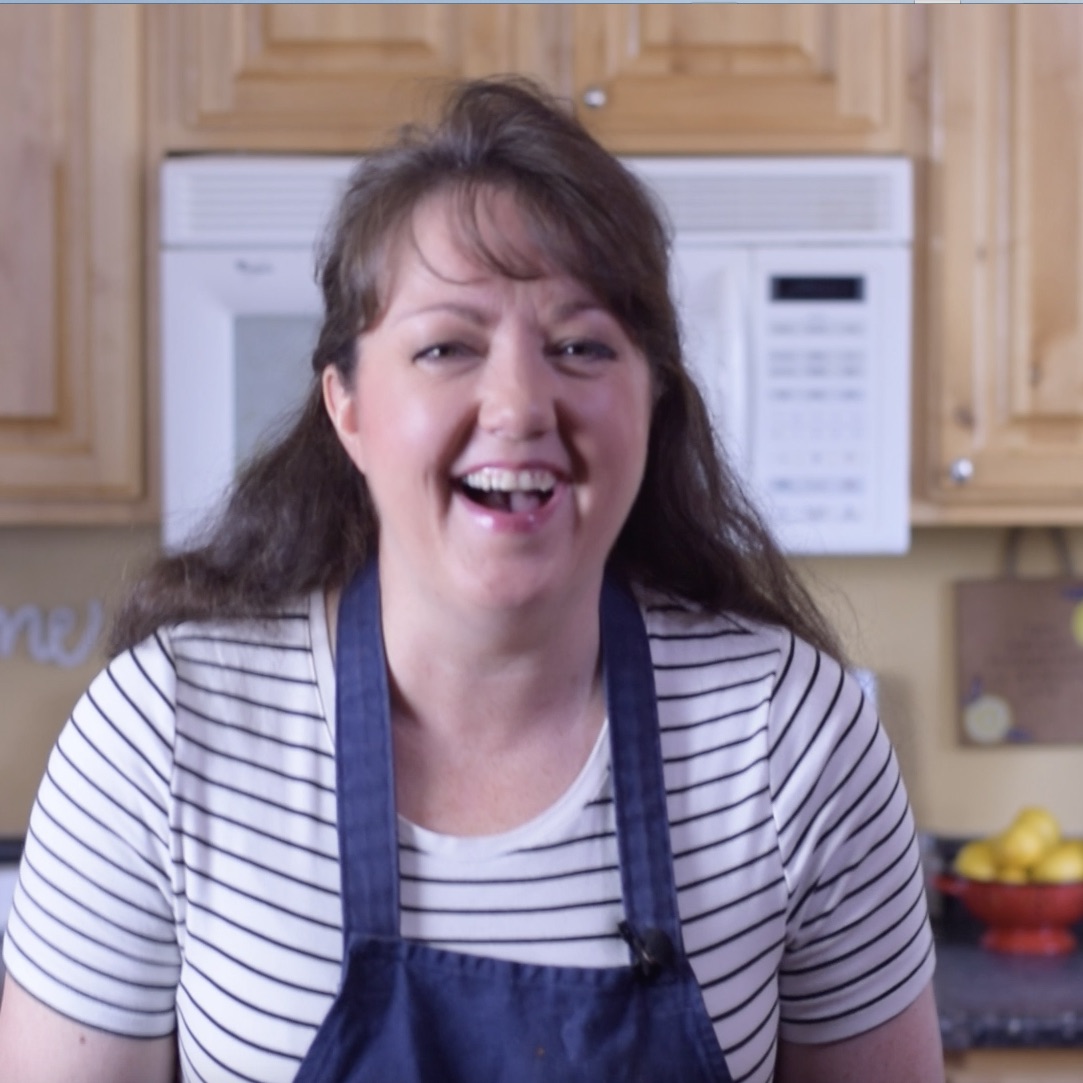
Recipe creator: Kristie Winget, who loves gardening and growing strawberries. Here's a little more about me.
Comments
No Comments