This post contains affiliate links. Thank you for supporting Beneficial Bento!
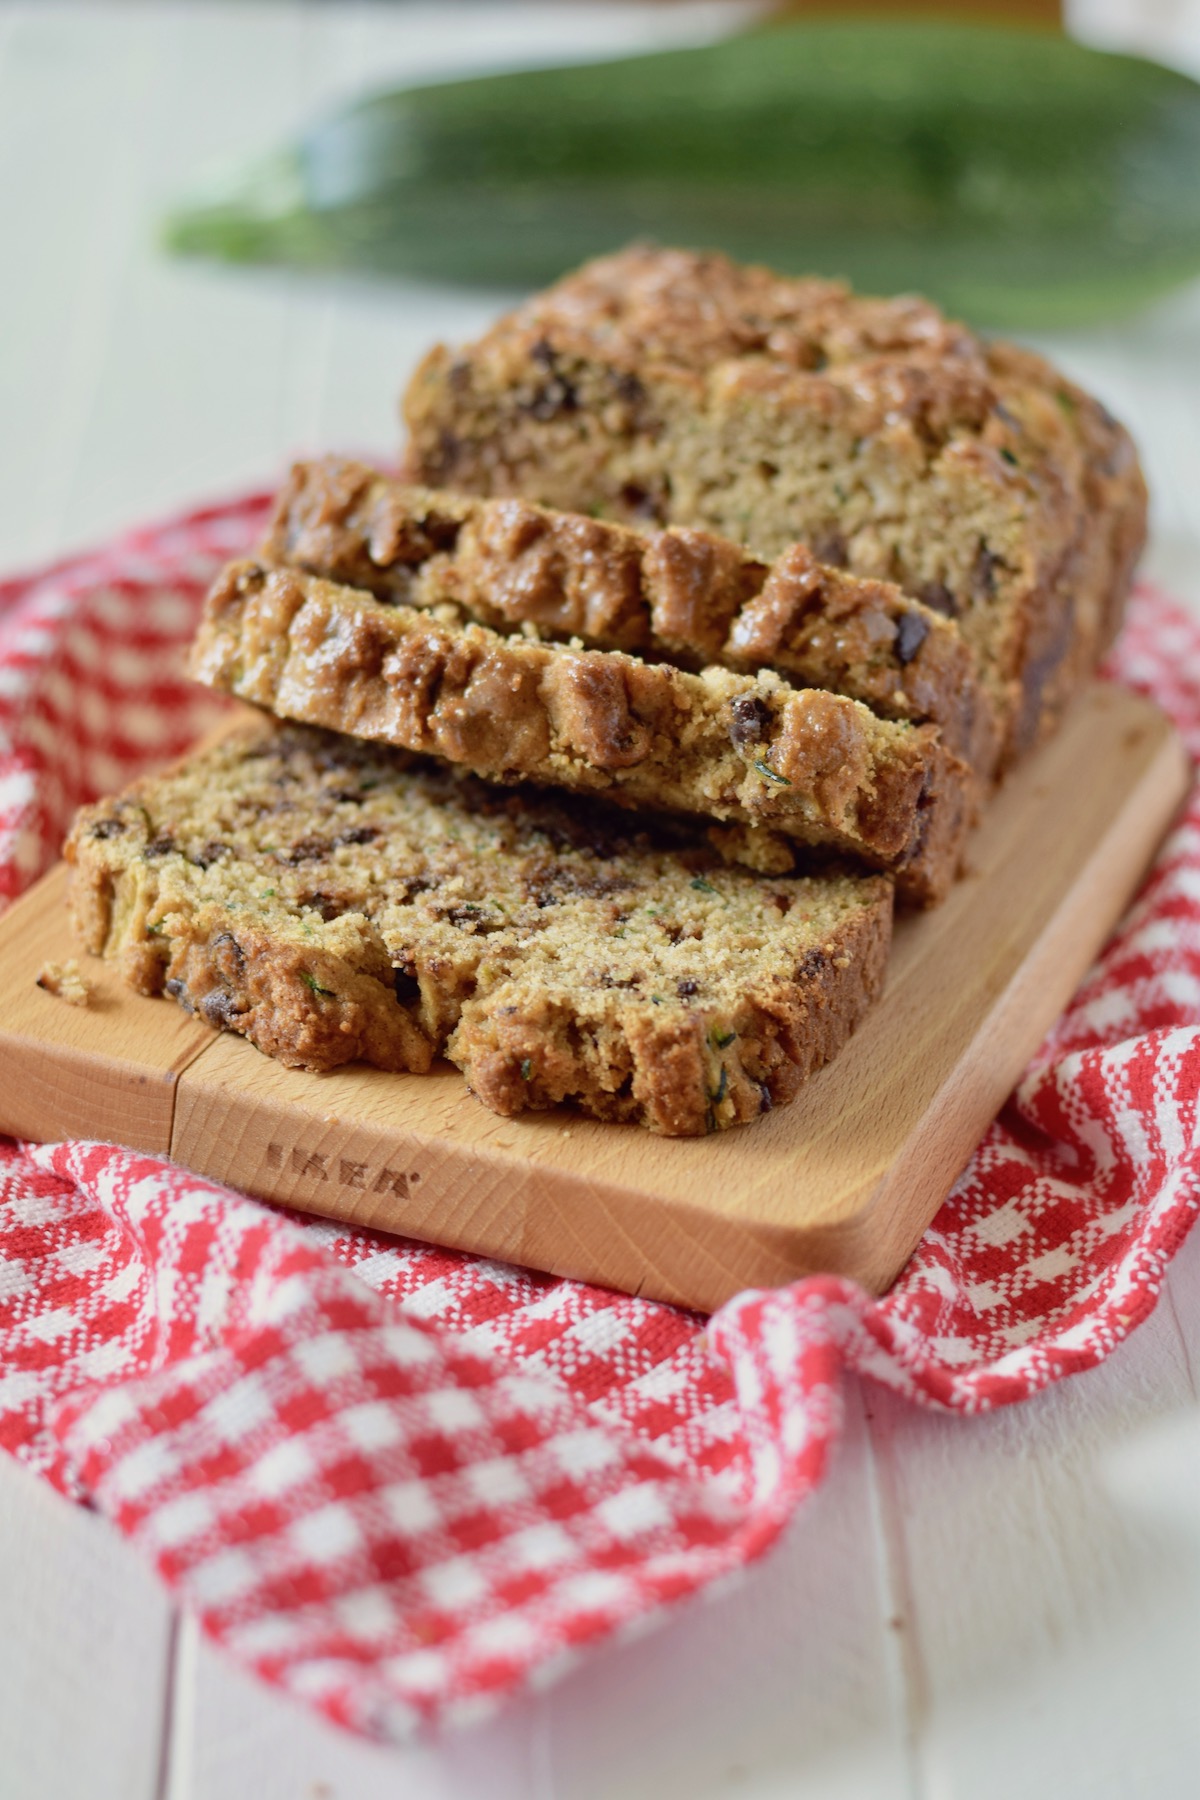
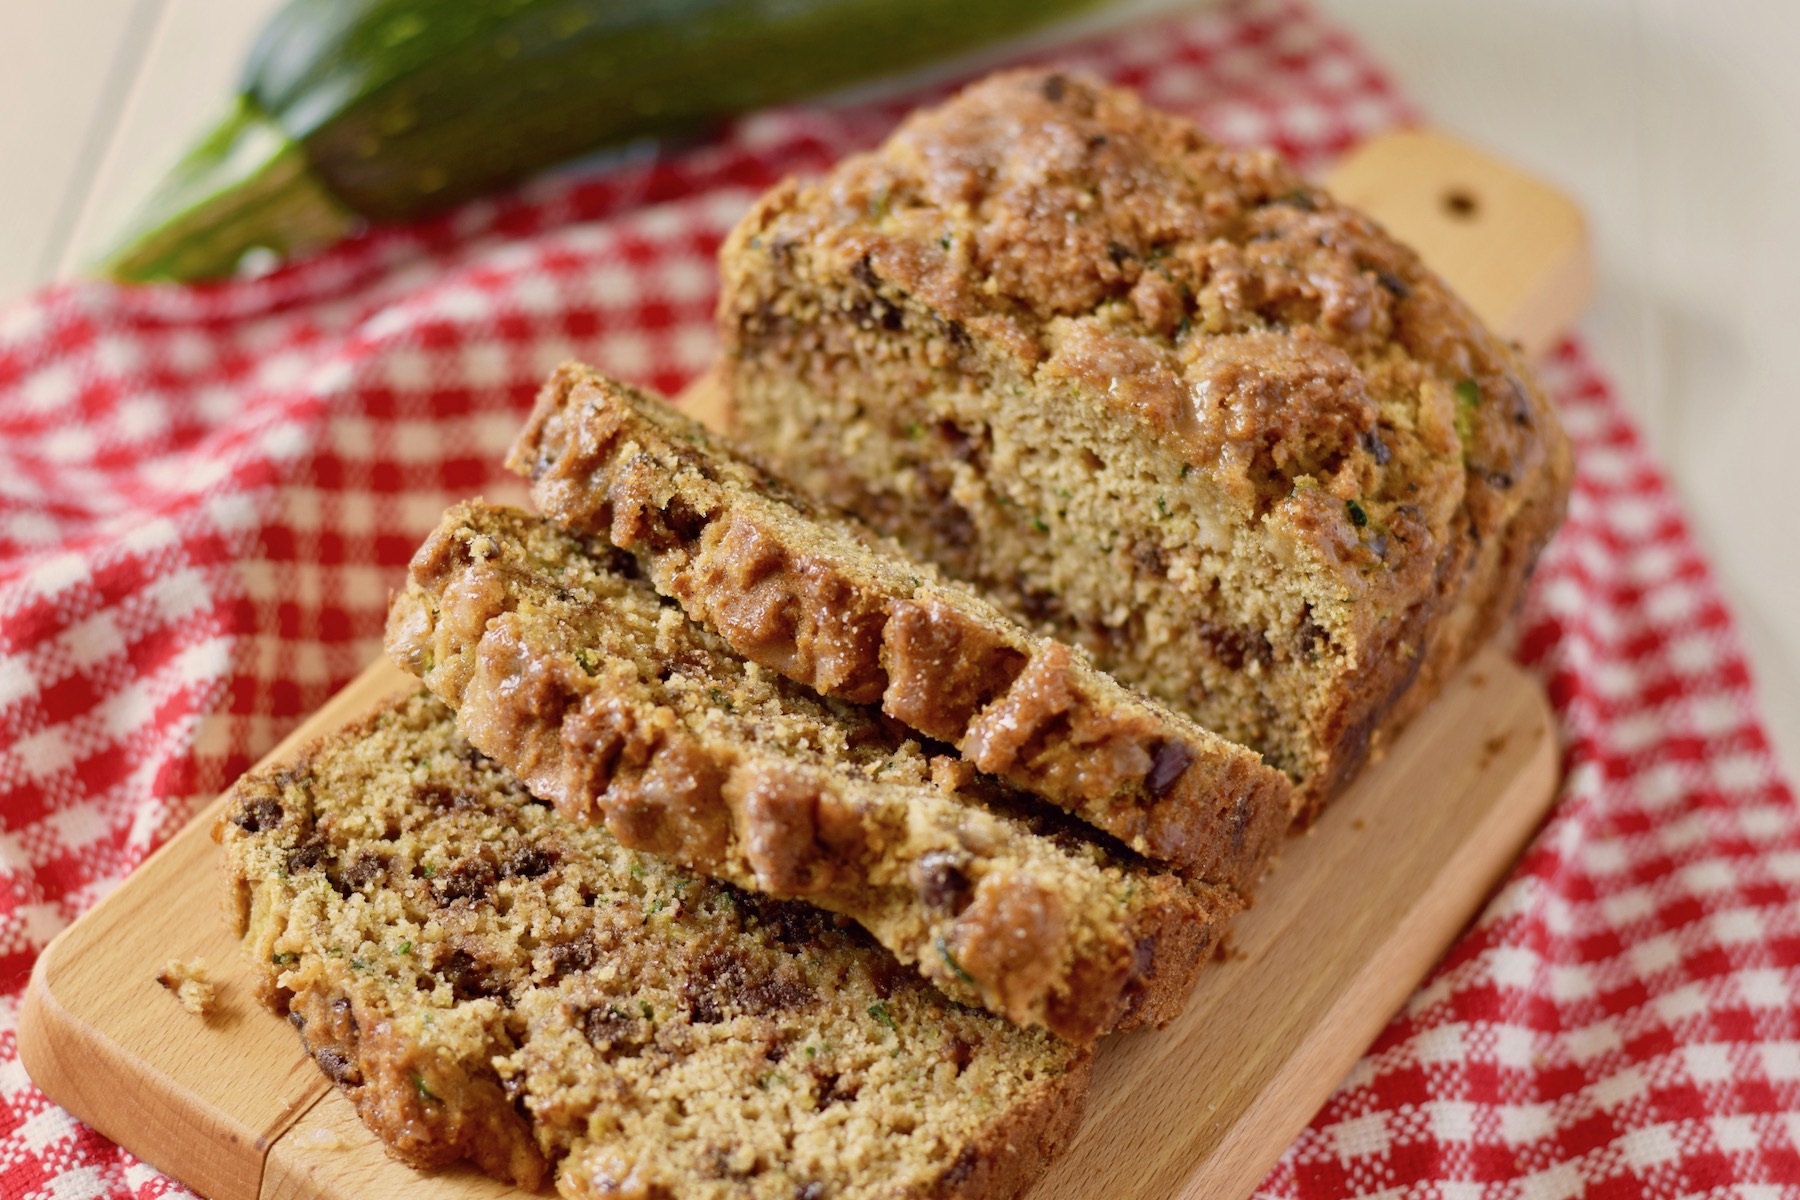
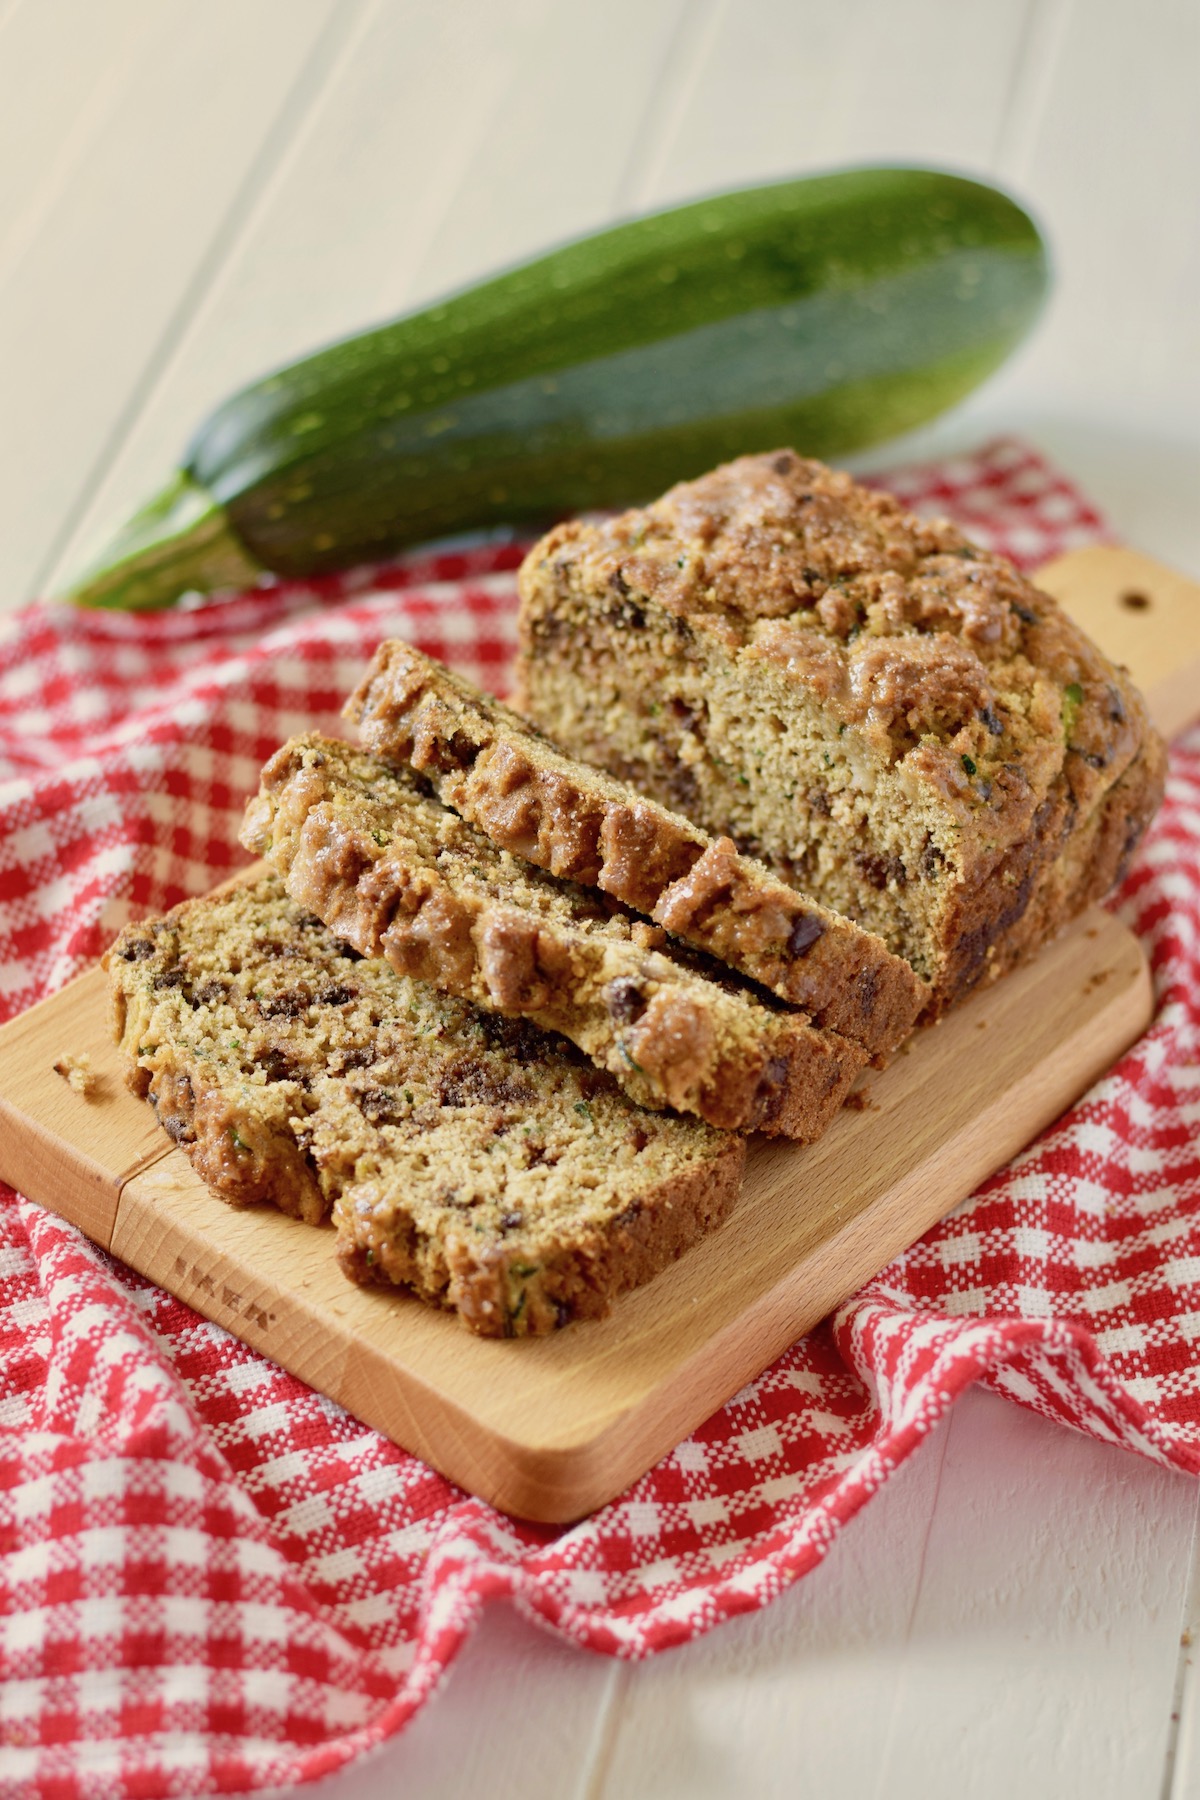
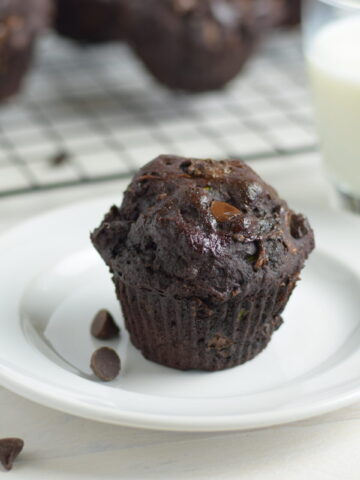
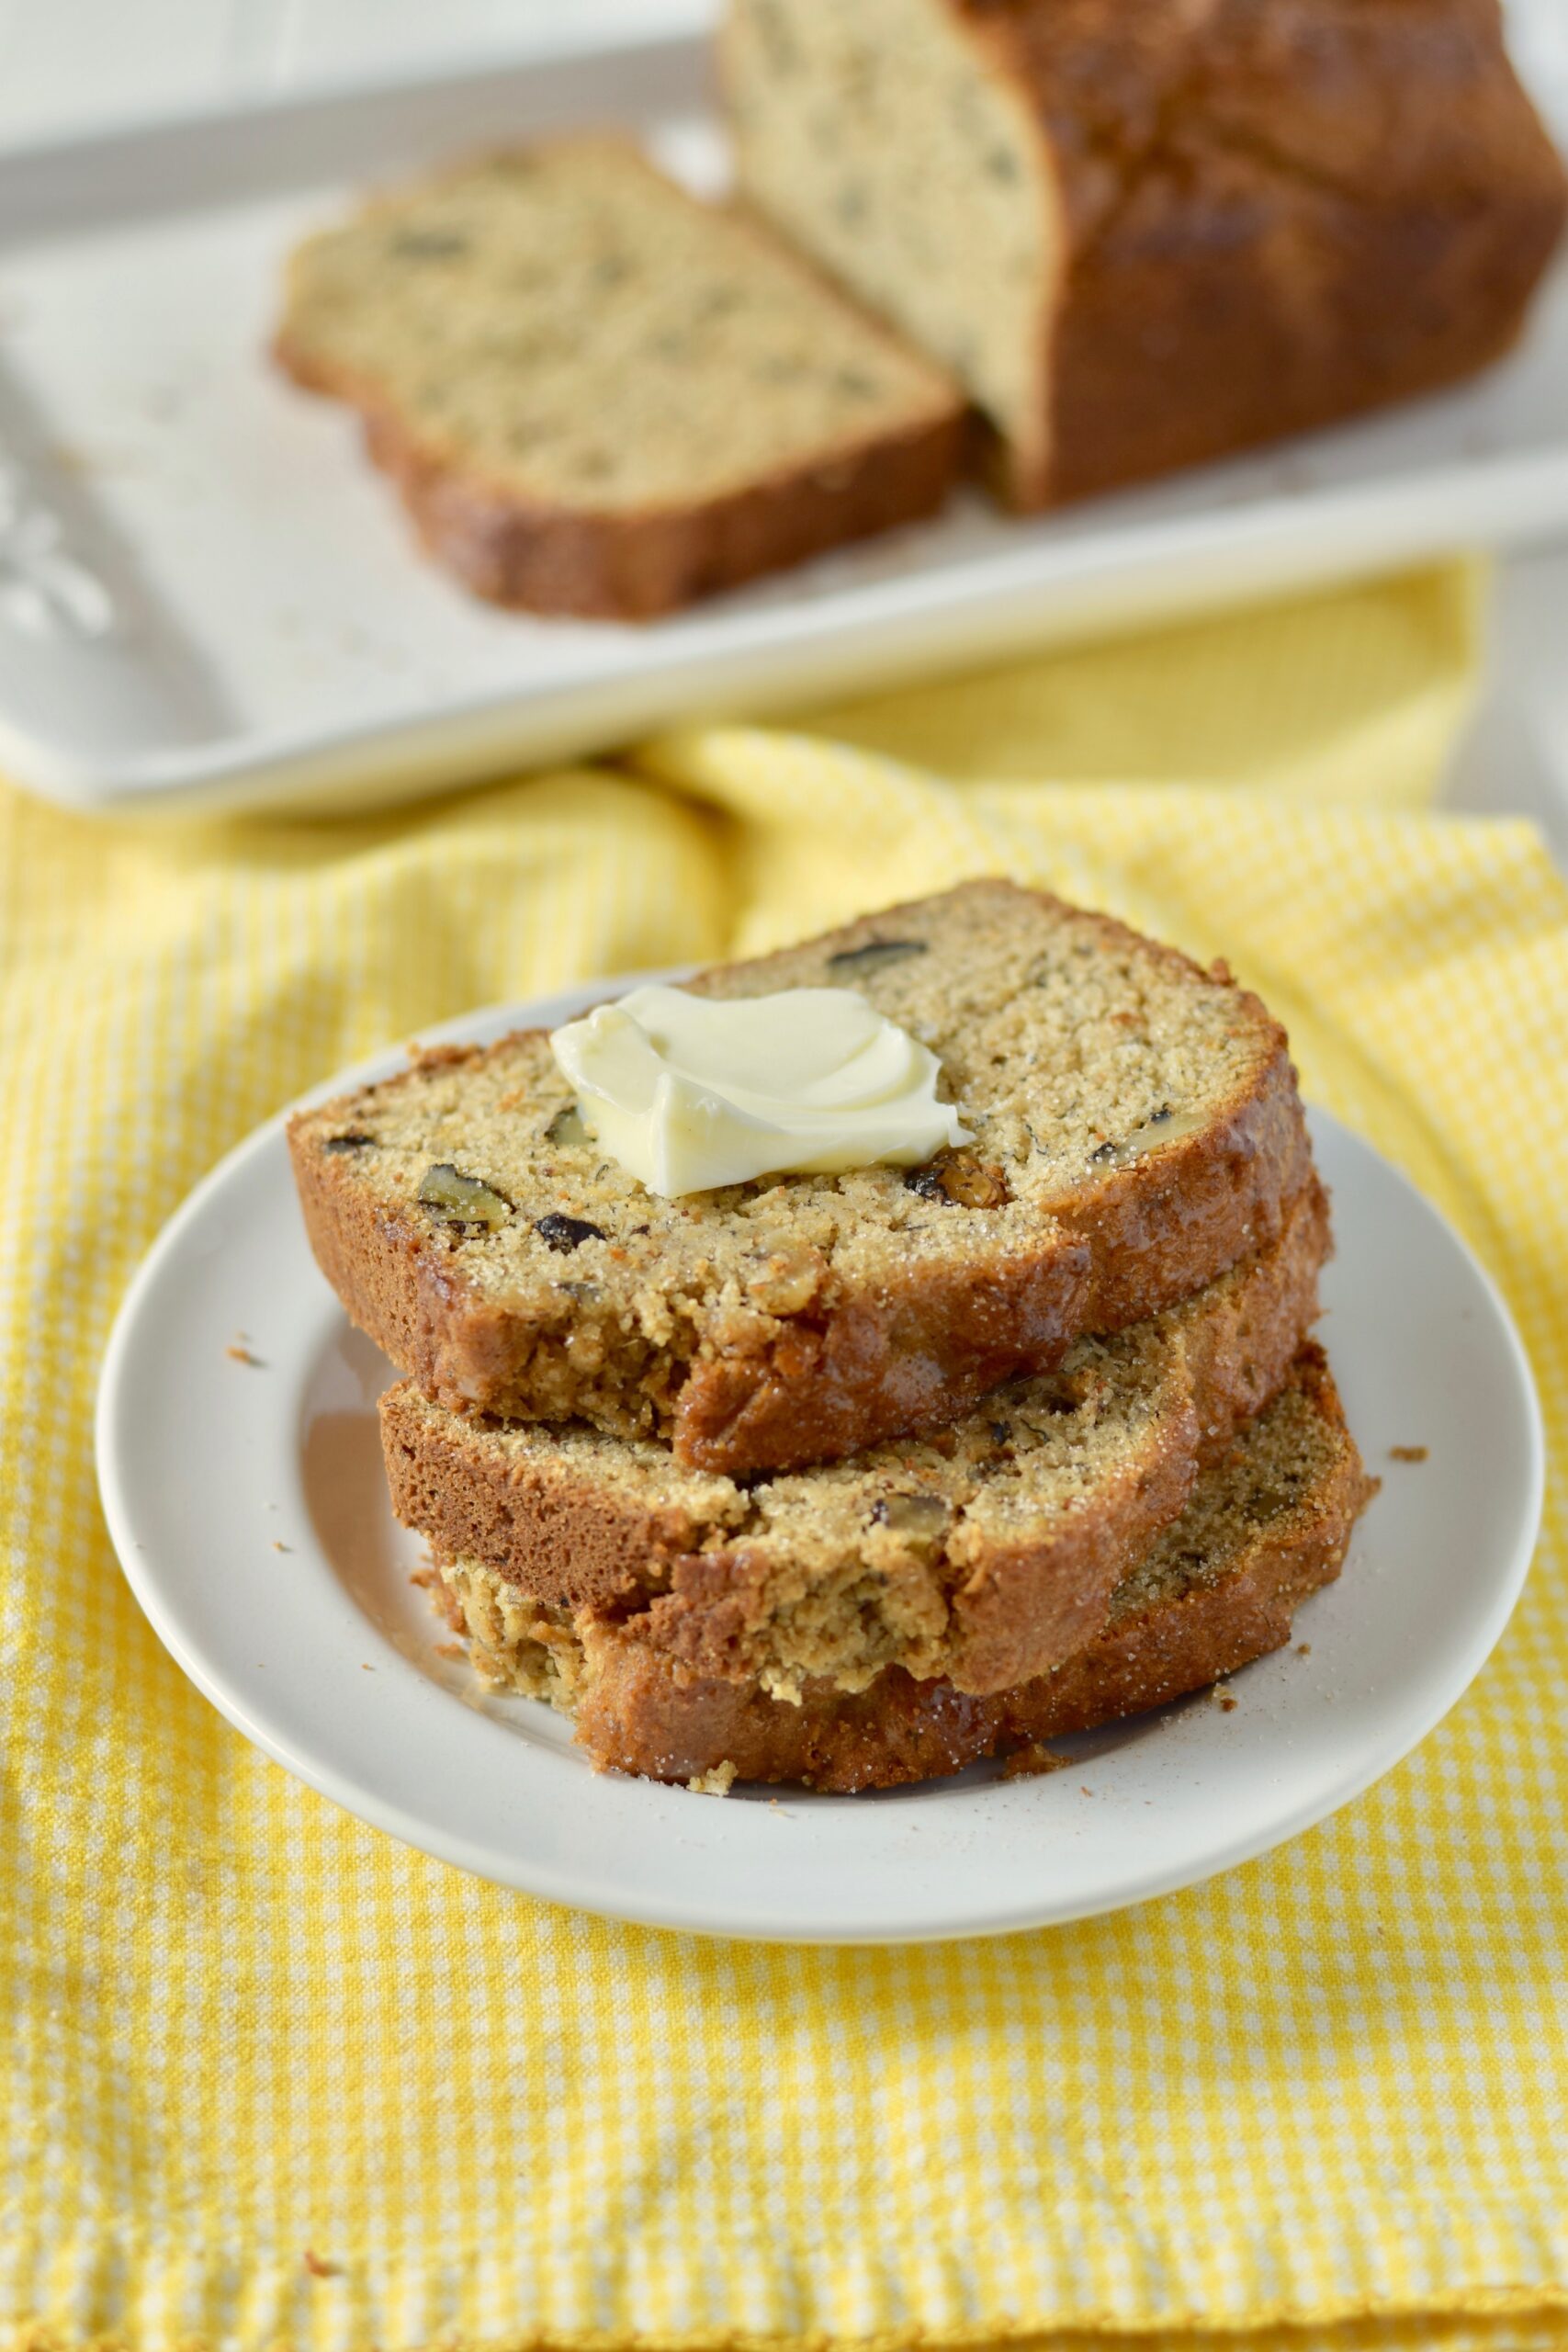
Is it bread or is it cake? The delicious aromas of cinnamon, brown sugar, and coconut oil perfectly combine to make the best zucchini bread you've ever had - gluten free or not.
Jump to:
- Simple Ingredients
- How to Make this Easy Zucchini Bread
- Watch the Video
- Some Delicious Mix-ins
- Box Grater or Food Processor?
- Tools to bake the best gluten free zucchini bread
- How to Store Gluten-free Zucchini Bread
- FAQs About Gluten Free Zucchini Bread
- More Zucchini Recipes
- Gluten Free Zucchini Bread
- Gluten Free Baked Goodies
- 💬 Comments
Zucchini bread is a great quick bread recipe to have on hand for the summer zucchini season all the way into the fall. Because it's so good!
And if you have an abundance of zucchini, this easy zucchini bread is the best way to make something delicious out of it. And to top it off, it's gluten free! Take it from me, us gluten free people don't often get such a wonderful, home baked treat.
This king of zucchini bread recipes is perfect for -
- Breakfast - If you're looking to add more veggies to your diet, this gluten free quick bread is a great option for breakfast.
- Dessert - it looks like cake, it tastes like cake - why don't we just go ahead and call it cake and eat it for dessert? I say yes.
- A gift - you can ditch your extra zucchini on someone's doorstep, OR you can bake a loaf of zucchini bread that you would be proud to share with your neighbors and friends and actually take credit for it!
- A potluck - put a note on it that it's gluten free and I bet you'll see a lot of grateful people!
- A lunch box treat This tastes even better the day after you bake it, which makes it perfect for lunch the next day.
- The freezer. That's right, you can freeze baked zucchini bread for later, but did you know that you can also freeze grated zucchini to bake into brand-new, golden brown zucchini bread long after your garden is done for the year? Yup, you can do that, and it's delicious!
Simple Ingredients
- my All-in-One gluten-free flour blend (you can make yourself). Grab the recipe in my free ebook, Gluten Free Baking for Beginners. You can also use Bob's Red Mill 1 to 1 flour blend, or King Arthur's Measure for Measure gf flour, or another all purpose gluten free flour blend that contains xanthan gum in the ingredients
- coconut flour - adds sweetness and moisture. The subtle flavor of coconut is just so good in this recipe!
- millet flour - I love this flour in baked goods. Its texture is similar to regular wheat flour.
- cinnamon and brown sugar - more sweetness, and rich flavor
- buttermilk - one of my secrets for really moist gluten free quick breads. But if you need a dairy-free recipe, I would try substituting coconut milk for the buttermilk.
- eggs - adds protein and is a good binder in gluten free foods
- coconut oil - adds an amazing flavor and aroma that pairs so well with the zucchini and cinnamon in this recipe
- Recipe staples like baking soda, baking powder, vanilla extract, sea salt
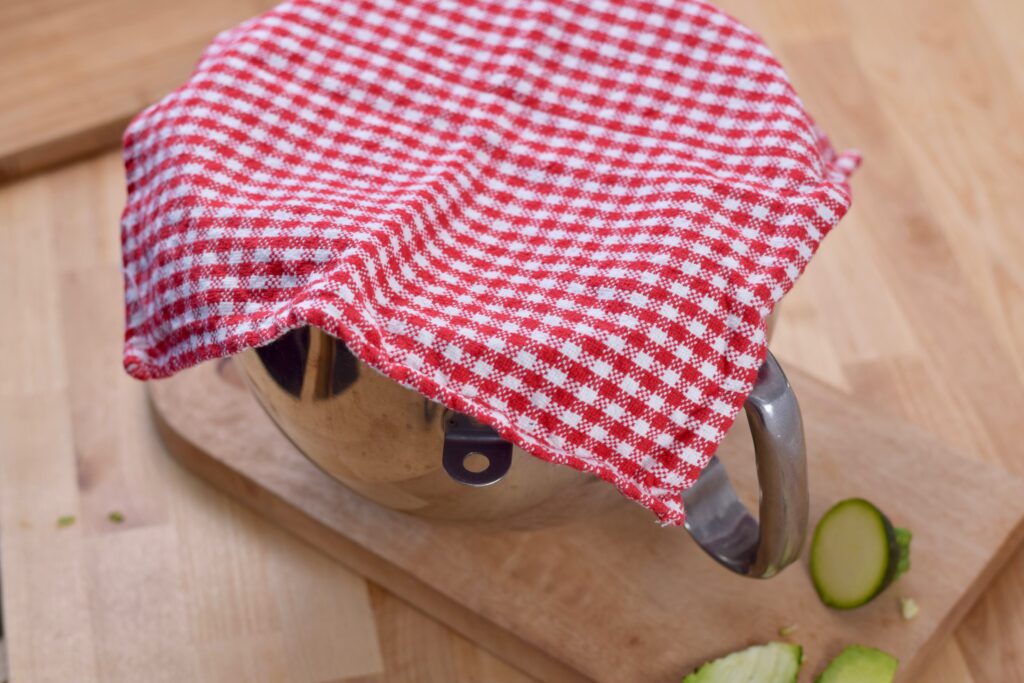
- and last but not least, the star of this recipe - finely shredded zucchini. Peel it first if you have picky eaters who look suspiciously at anything "green" in their dessert. But I like to save time by leaving the peel on since I don't have little ones in the house anymore.
And for more gluten free baking tips, be sure to read "Best Beginner's Tips for Successful Gluten Free Baking".
How to Make this Easy Zucchini Bread
Here's how to make this seriously delectable zucchini bread:
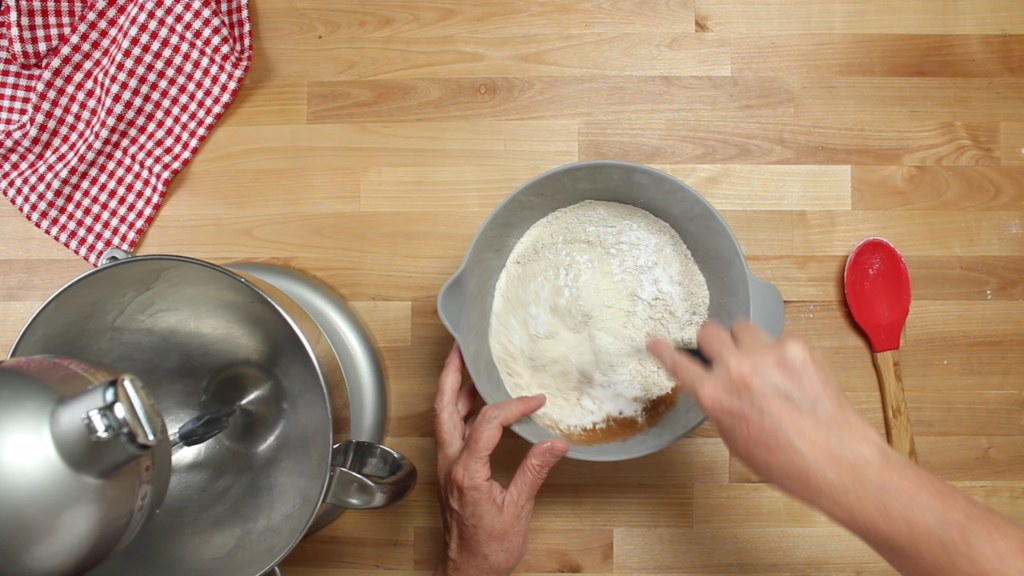
- In a large bowl combine the flour blend, coconut flour, millet flour, cinnamon, salt, baking soda and baking powder. Whisk it thoroughly to combine. You don't want pockets of salt or bitter baking powder when you take a bite - whisk it thoroughly!
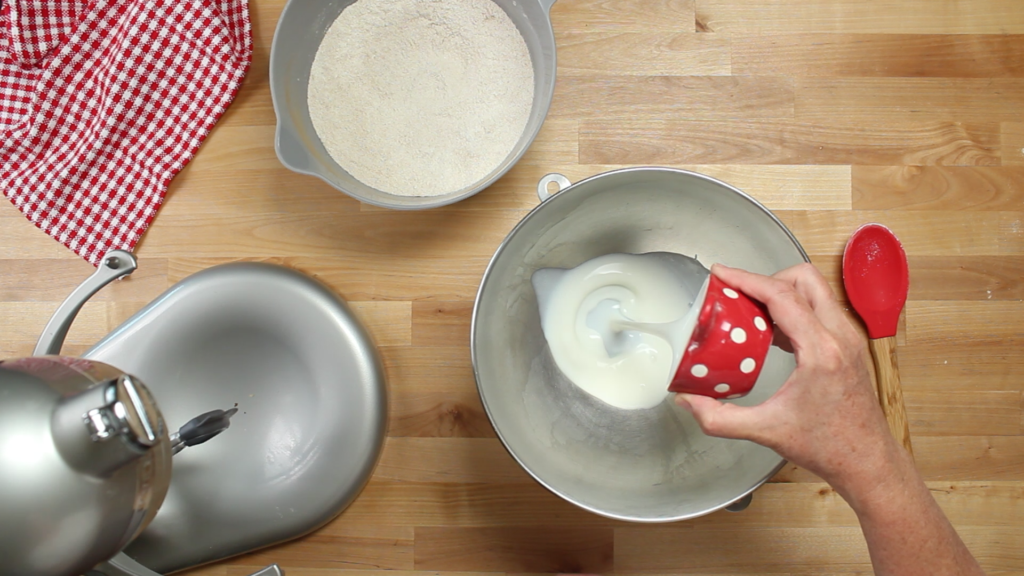
2. In a large mixing bowl add the buttermilk, eggs, sugar, coconut oil, and vanilla. Let sit while you prepare the zucchini.
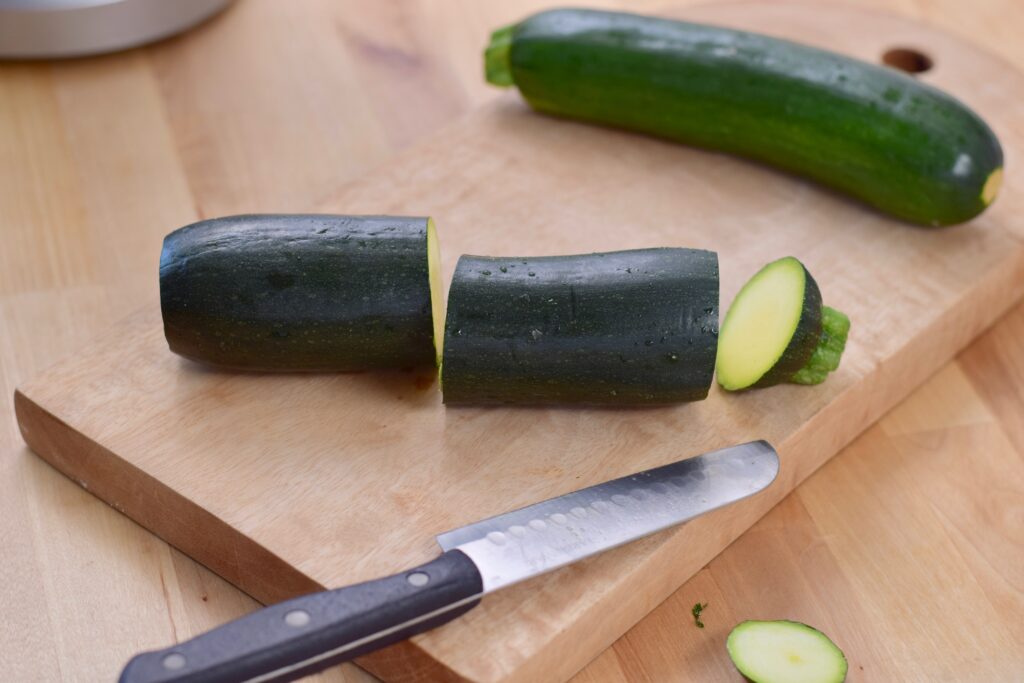
3Wash the zucchini and cut off the ends. If it's large, cut it into smaller chunks to make it easier to handle when shredding it.
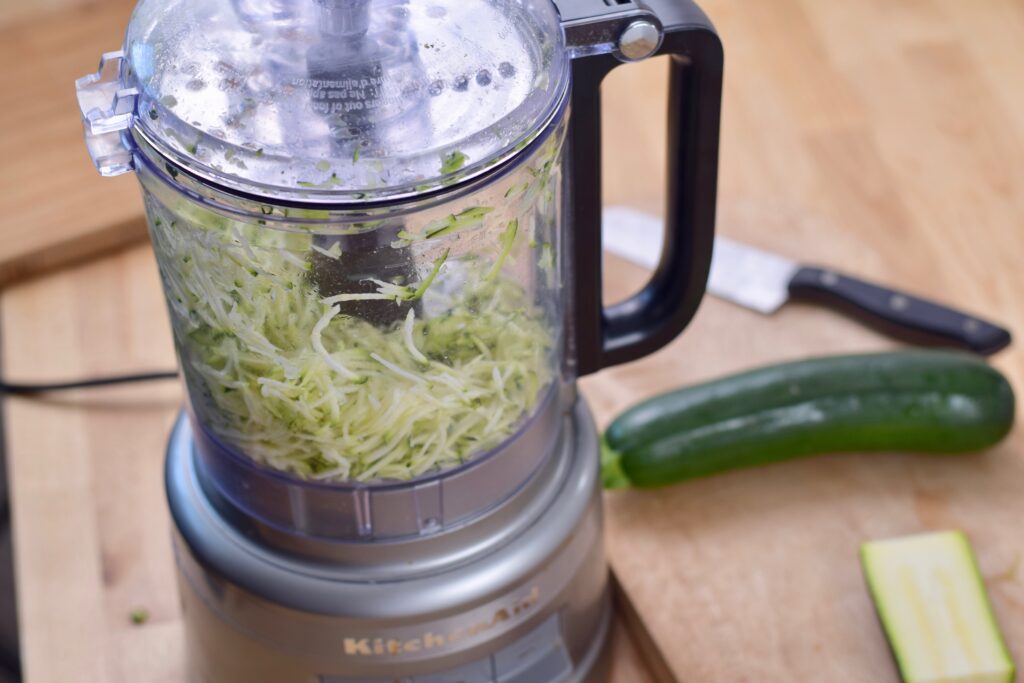
4. You can use a box grater, but you will get much better results if you use a food processor. See "Box Grater or Food Processor?" below.
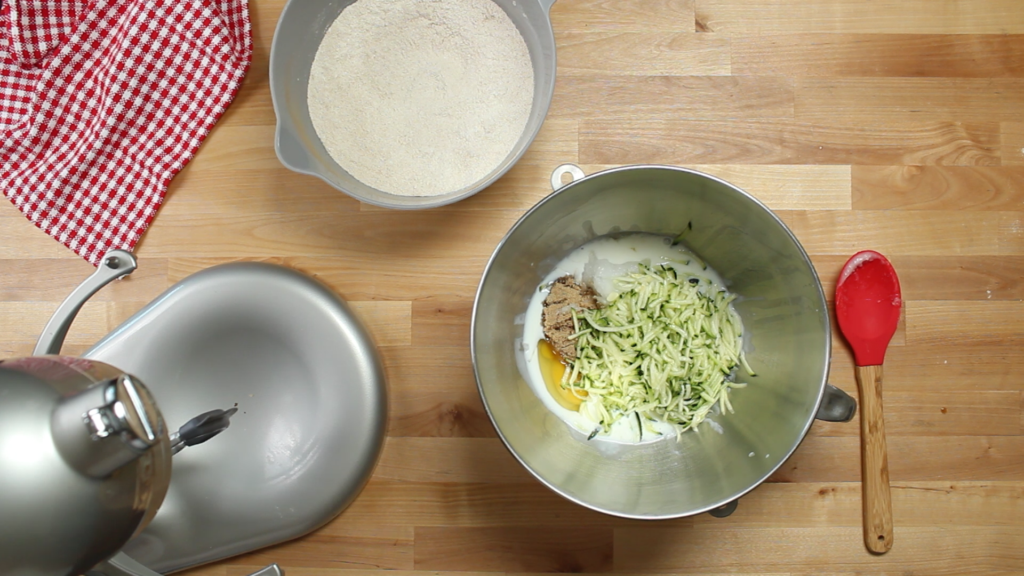
5. Add the shredded zucchini to the ingredients in the mixer. There's no need to squeeze out the excess liquid from the zucchini - the added moisture is important in this recipe..
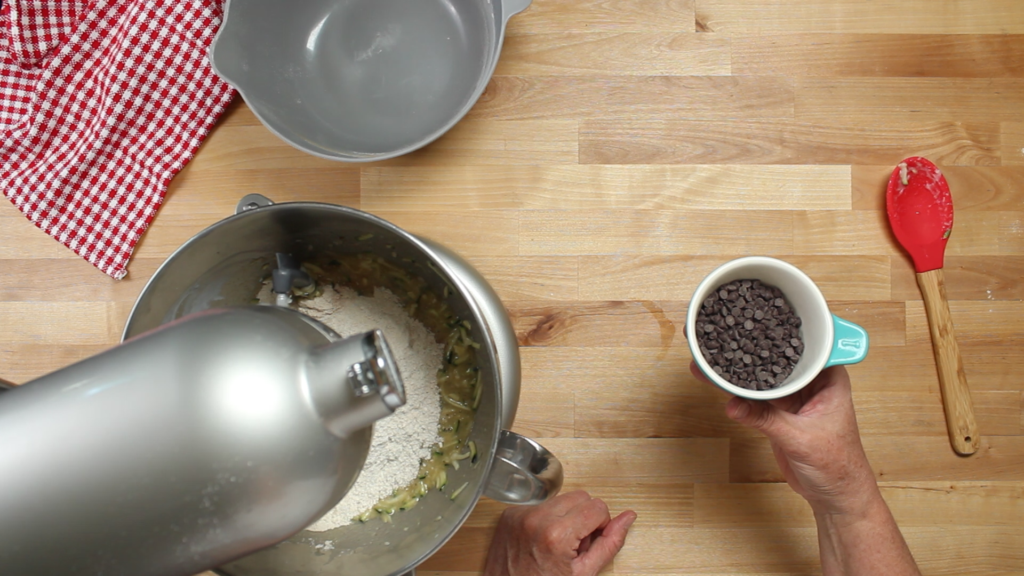
6. Add the dry ingredients to the wet ingredients in the mixer. Add chocolate chips or nuts, (as described below,) if you want.
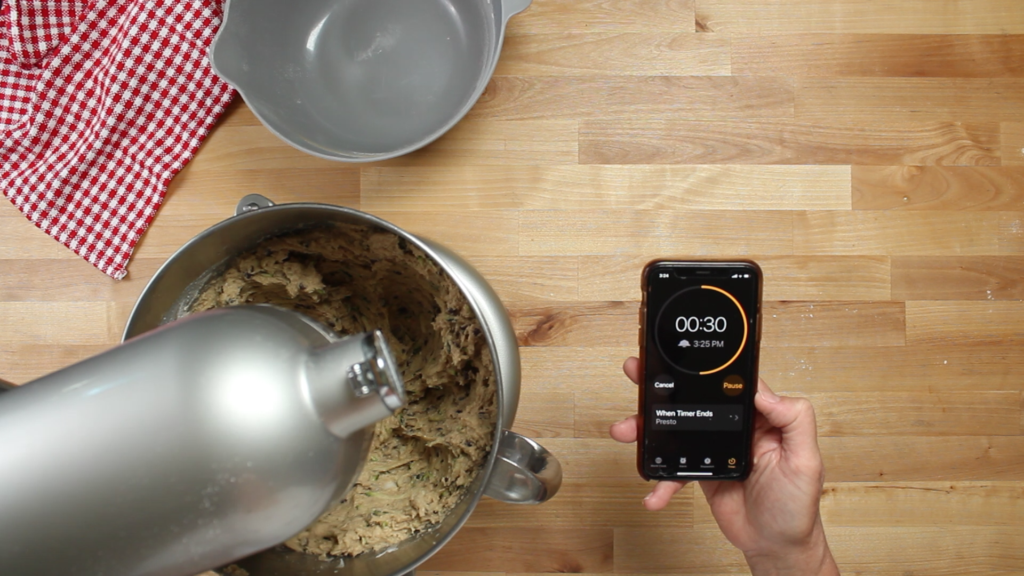
7. Mix on medium speed for 2 full minutes to fully hydrate and combine the different gluten free flours.
8. Cover and let the batter rest for about 20-30 minutes to further allow the gluten free flours to blend together and completely absorb the liquids.

9. Scoop batter into a loaf pan lined with parchment paper and sprayed lightly with cooking spray or vegetable oil.
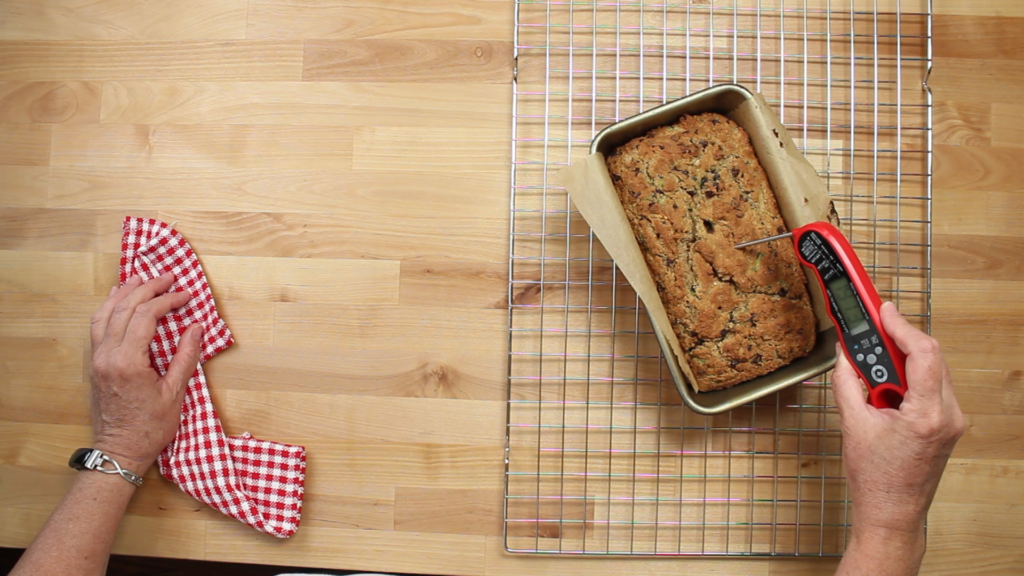
10. Bake at 350 degrees for 50+ minutes, or until an internal thermometer reads 200 degrees.
11. When it's finished cooking, remove from the oven. Using the parchment paper as handles, pull the zucchini bread out, placing it on a wire rack. Lay it on its side - this will prevent the sides from collapsing or from the top going flat as it cools.

Watch the Video
Should you put jalapeño mustard on zucchini bread? Watch the video to find out 😂
Some Delicious Mix-ins
You can add some extras to this versatile quick bread to spice things up a little if you want.
- ⅔ cup semi-sweet mini chocolate chips
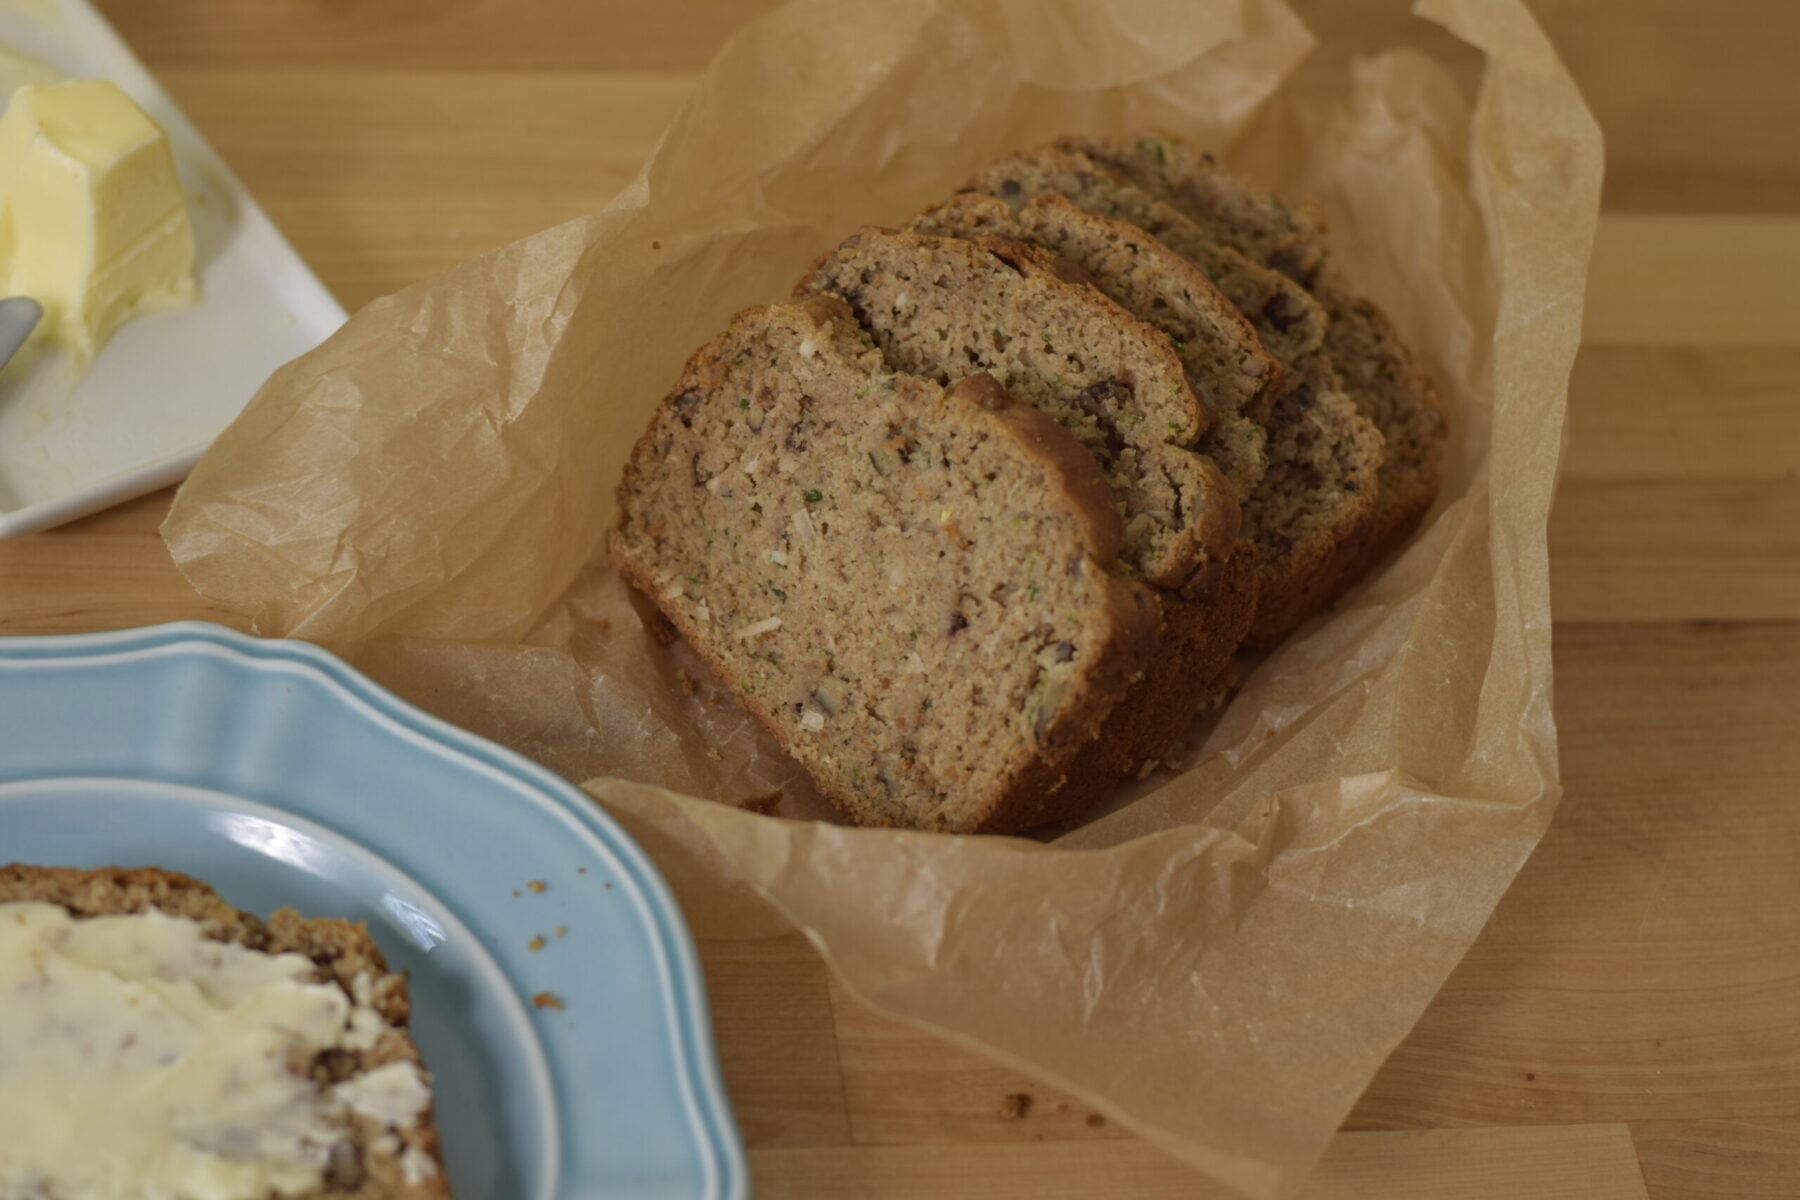
- ⅓ cup chopped pecans + ⅓ cup shredded coconut (I prefer unsweetened coconut)
- ⅔ cup chopped walnuts
- other chocolate chips, such as cinnamon chips or white chocolate chips, ⅔ cup
Here's some I made using coconut and pecans, and I think I like it even better than with chocolate chips!⤵
Another yummy gluten free quick bread that's similar to this one is my banana bread recipe.
Box Grater or Food Processor?
For best results, I use a food processor to shred the zucchini. Why?
Most box graters have holes that are too large, which makes big chunks of zucchini that don't bake well. Or too fine, which makes kind of a mush when you try to grate the zucchini. But a food processor usually has more sizes of grating wheels to choose from. I prefer the second size up from the smallest one for my zucchini bread.
Here are some things you need to make the best gluten free zucchini bread:
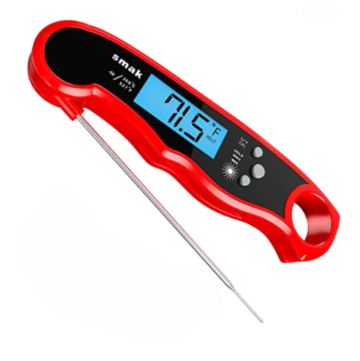
- digital thermometer: the most accurate way to tell if a gluten free loaf is done
- pullman bread pan, or any pan with taller sides: gluten free bread will rise higher if you bake it in a pan with tall sides
- food processor: the best way to shred zucchini
Tools to bake the best gluten free zucchini bread
 Buy Now →
  Buy Now →
 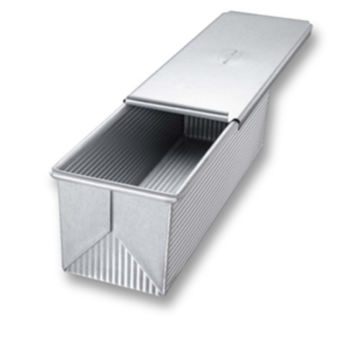 Buy Now →
 How to Store Gluten-free Zucchini Bread
Zucchini bread, like most quick breads, tastes even better the next day. Wrap it in plastic wrap, or store it in a sealed container and keep in the fridge. It should last for 3-4 days that way before it might start to get dry and crumbly (that's just the nature of a lot of gluten free baked goods).
If you need to keep it for longer than that, then I would just freeze it. I have tried:
- plastic wrap + aluminum foil
- plastic wrap + a freezer bag
- or another airtight container that's freezer safe
It should keep safely in the freezer for a few months, although it's never lasted that long at our house!
FAQs About Gluten Free Zucchini Bread
Not for this recipe. Gluten free baked goods generally benefit from added moisture, so there's no need to drain or blot the shredded zucchini dry with paper towels. After shredding it just simply add it to the recipe as is.
I don't peel my zucchini in this recipe, because it practically dissolves when it bakes and no one notices it. You might see tiny green flecks in the finished product, so if you have family members who are suspicious of anything green in their treats, you could go ahead and peel it.
If your bread was still too hot when you sliced it, that would cause it to crumble and fall apart. This is doubly true if it's gluten free. Leave it alone to cool to room temperature before cutting into it, and it should hold together very well when it's sliced.
Most likely it's because it wasn't cooked all the way through. Check the temperature using a digital thermometer by inserting it into the center of the loaf, and make sure it has reached 200 degrees before taking it out of the oven.
1 medium sized zucchini, roughly 5-6 inches long, will give you around 1 cup of shredded zucchini. So 2 medium sized zucchini or 1 large zucchini should yield 2 cups.
Like all vegetables, zucchini does not contain gluten. Gluten is found in grains such as wheat, rye, barley, spelt, triticale, and kamut.
There are 2 possible reasons: too much leavening (baking powder or baking soda), or not enough. Too much will create big bubbles that pop before the bread is finished baking so the air pockets collapse, leaving you with a heavy texture. Too little leavening will not create enough air pockets which will also give it a heavy texture. So measure the leavening carefully for best results!
More Zucchini Recipes
If you have too much zucchini and are looking for ways to use it up (I'm right there with ya), here are a couple of my personal favorites:
Print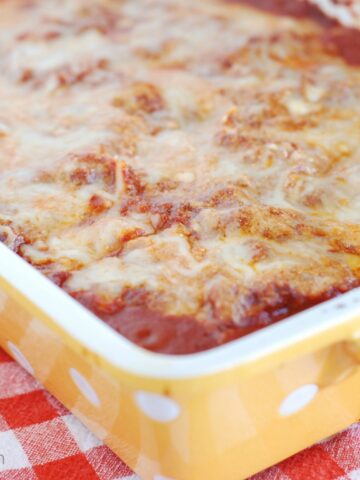
Gluten Free Zucchini Bread
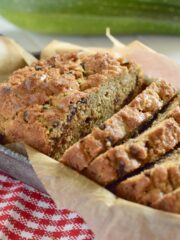
This is the best way to use up too much zucchini! Satisfying and sweet, with a hint of coconut and cinnamon. Buttermilk makes this gluten free loaf extra moist. Sprinkled with your choice of chocolate chips, nuts, or coconut flakes this versatile treat is always a hit.
Ingredients
- 1 ⅓ cup (225 g) All-in-One flour blend *see notes*
- ⅓ cup (45 g) coconut flour
- ⅓ cup (50 g) millet flour
- 1 teaspoon cinnamon
- 1 teaspoon baking soda
- 1 teaspoon baking powder
- 1 teaspoon salt
- ½ cup buttermilk
-
½ cup egg, or 2 large eggs
- ¾ cup brown sugar
- 3 tablespoons coconut oil
- 1 teaspoon vanilla extract
- 2 cups finely grated zucchini
Instructions
- In a bowl, combine the flours, cinnamon, salt, baking soda, and baking powder. Whisk together to combine.
- In a mixer add the buttermilk, eggs, brown sugar, coconut oil, vanilla, and shredded zucchini. Blend until smooth.
- Add the dry ingredients to the wet ingredients in the mixer. Add one of the mix-ins, if using.
- With the mixer on medium speed, mix for 2 full minutes to fully hydrate and combine all the gluten free flours.
- Let the batter rest for about 20-30 minutes.
- During this time preheat the oven to 350℉.
- Line a loaf pan with parchment paper and spray lightly with cooking spray or oil.
- Scoop the batter into the loaf pan.
- Bake for 50 minutes (often longer), so definitely use an internal thermometer for best results. The temperature should reach 200℉ in the center - this is the best way to tell if a gluten free loaf is done.
- Remove from the oven and use the parchment paper as handles to lift the loaf from the pan. Lay it on its side to cool. This helps prevent it from collapsing or flattening out on top.
- Refrain from slicing it until it's cool. I know it will be hard, but if you slice it while it's still too hot it will crumble.
Equipment
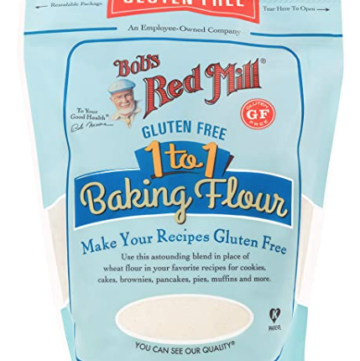
1 to 1 Baking Flour (Bob's Red Mill)
Buy Now →
Buy Now →
Buy Now → 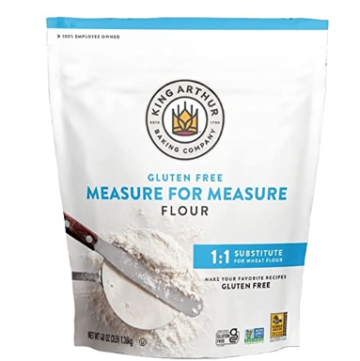 Buy Now →
 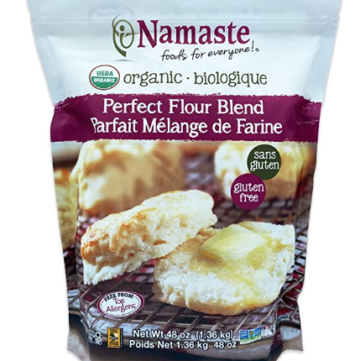 Buy Now →
 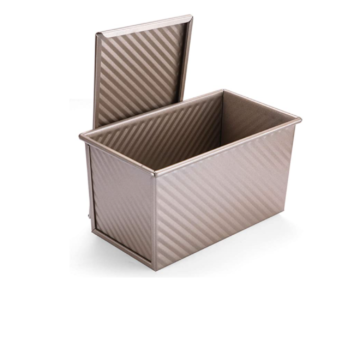 Buy Now →
 Notes
Notes: All-in-One flour blend: I use my own recipe for this, which you can find here You can also use Namaste's Perfect flour blend, King Arthur's Measure for Measure flour, Bob's Red Mill Gluten Free 1 to 1 Baking flour. Try any flour blend that contains xanthan gum - this recipe won't work without a binder like that.
Gluten Free Baked Goodies
If you love to bake for gluten free people (including yourself 👋), I've got you covered:
Comments
No Comments