


This post contains affiliate links. Thank you for supporting Beneficial Bento!
Whenever possible, I try to make my own homemade chicken stock. It adds such a rich, savory flavor to recipes - it can take an ordinary recipe and elevate it to the level of "this was made from scratch by grandma". The house smells so good when it cooks! My dog always knows when I'm making chicken or beef stock, and she gets so excited for it to be done because she knows she'll be getting some juicy bones and scraps.
Today I am going to show you how easy it is to make your own chicken stock. It does need to cook for a few hours to develop a really rich, full flavor, but don't worry - it's as simple as throwing a bunch of ingredients in a pot and just letting it simmer away while you do other things around the house.
What's the difference between stock and broth?
- stock is made of meat with bones
- broth is made of meat scraps
- stock is sometimes known as "bone broth"
- stock has more protein and other nutrients
- broth is mostly for flavor
How to Cook Your Own Chicken Stock
Step 1: Start with a Stock Pot
First you'll need a large soup pot or stock pot. It takes exactly the same amount of time to make a large pot of homemade chicken stock as it does a smaller one, so you might as well make a big batch in a big pot. It's easy to freeze several containers of it once it's done, so you can use it in a lot of recipes for a long time to come.
Here are a few stock pots I like, and they have great reviews on Amazon. It's important to get one with a thick, heavy bottom. That way the food you cook in them won't burn as easily. For making homemade chicken stock it would be absolutely ideal to have a steamer basket inside your stock pot ( I don't have one yet, but I wish I did!). After the chicken and veggies have simmered for hours, they are really soft and the meat falls right off the bone. It would be such a time saver to just lift the meat scraps and veggies right out of that big pot with the steamer basket - saves a little time and trouble fishing out those bones and scraps!
Step 2: The Chicken
Next, add your meat. I prefer using raw meat for this. You can add a whole chicken ( like what you would use to make a rotisserie chicken), chicken pieces, chicken leg quarters, etc. It's best to rinse the meat with water first before tossing it in the pot. The amount of chicken you use is entirely up to you. The meat is delicious and perfect to use in any recipe that calls for cooked and shredded chicken.
Step 3: Add the Other Ingredients
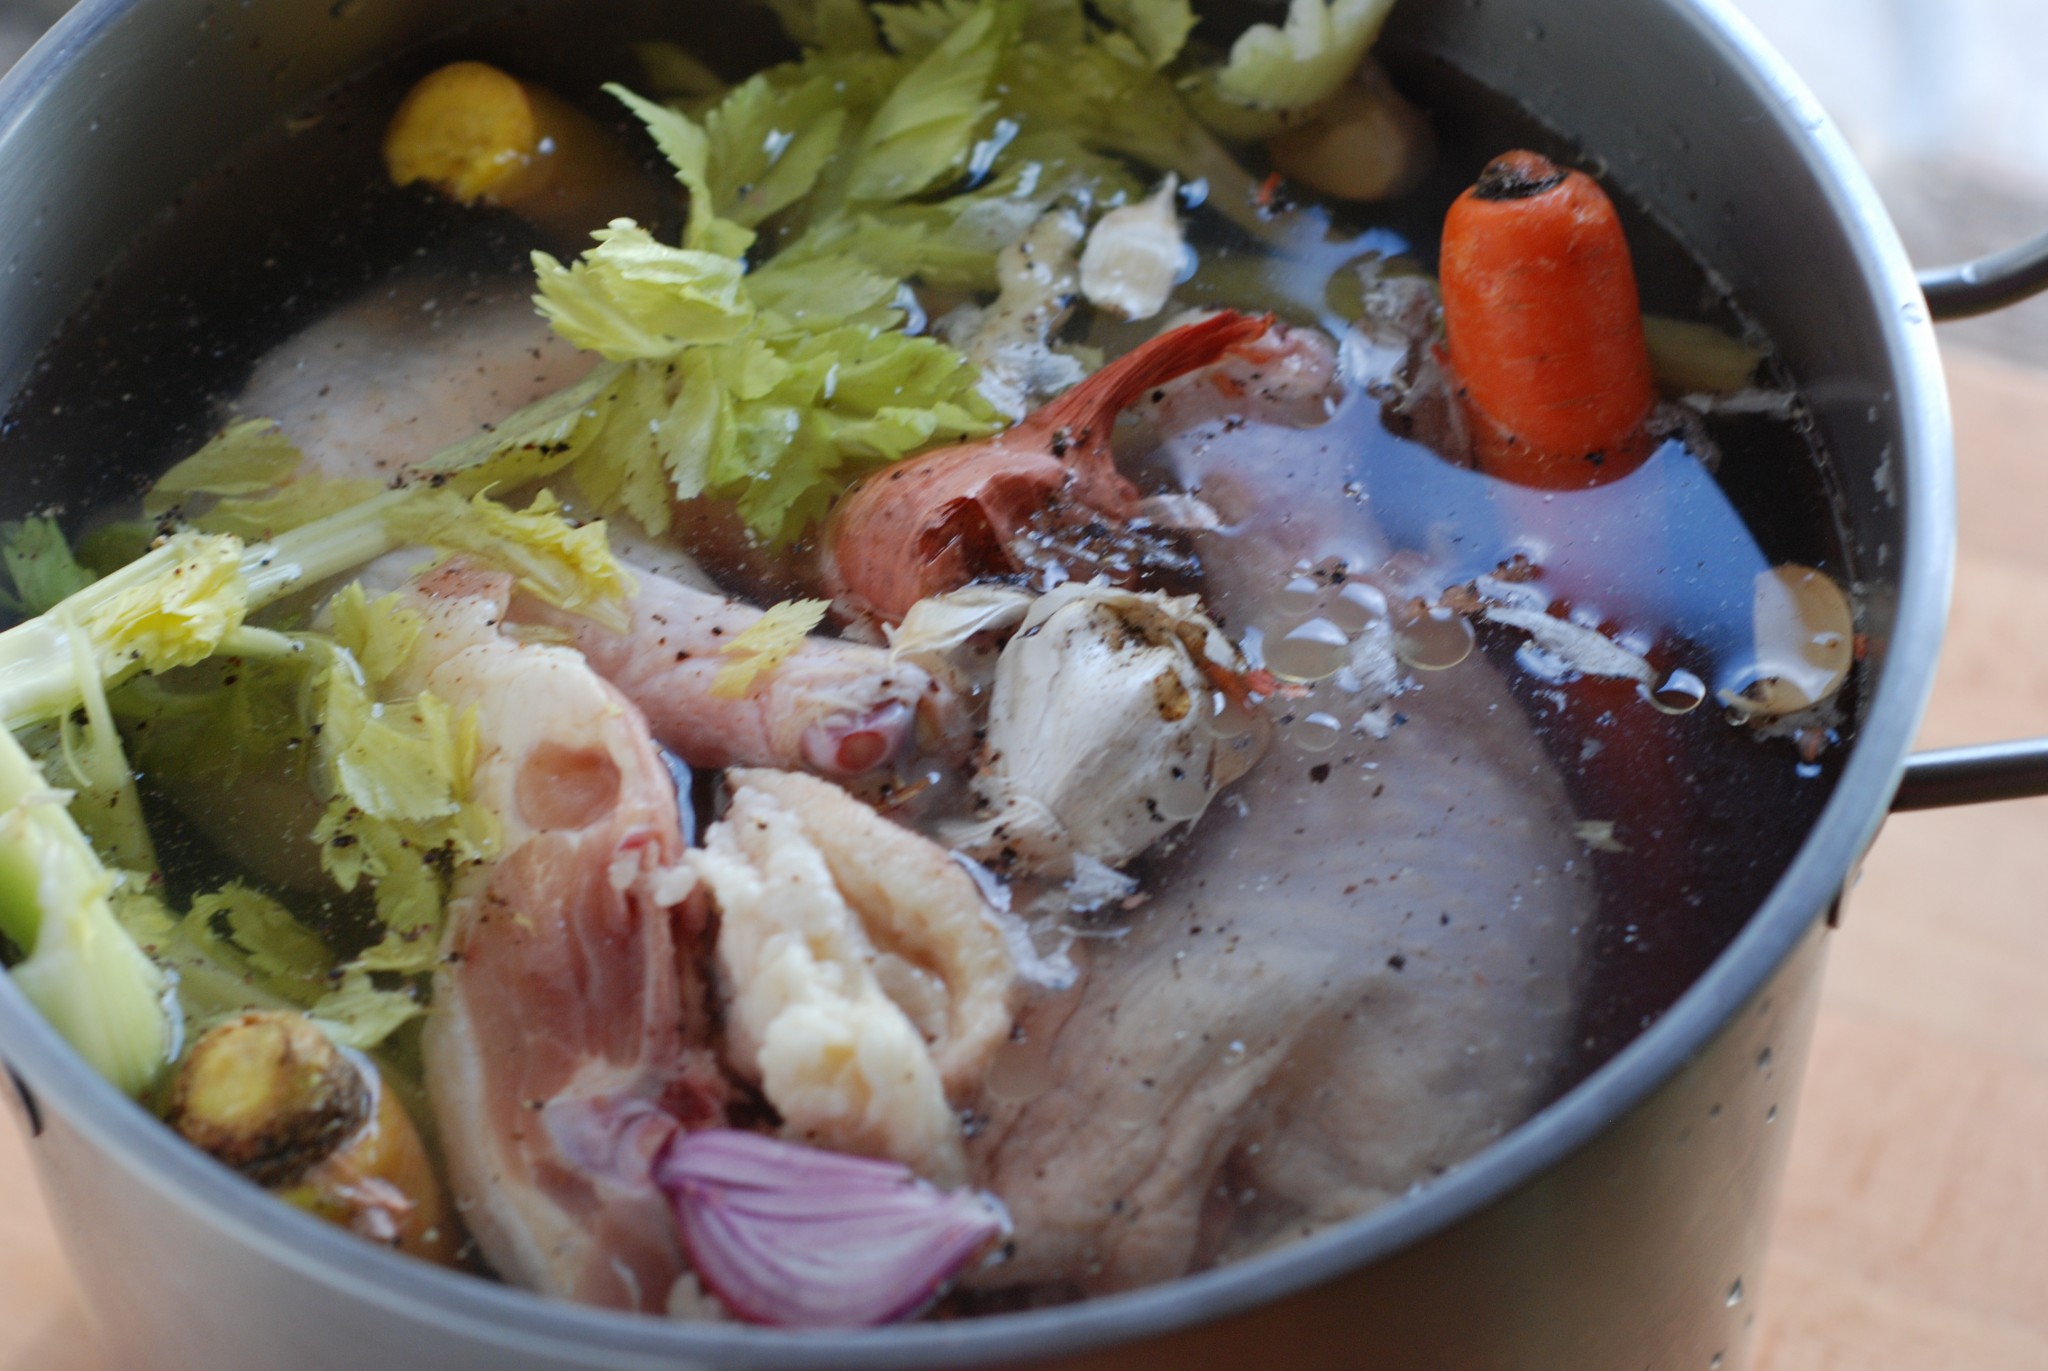
Now it's time to add the vegetables, herbs, and spices. Again, the amount is up to you. In my 20 quart stock pot, I toss in:
- 3-4 whole carrots
- an entire head of garlic (unpeeled - just throw it in there)
- 2 shallots
- a handful of fresh Italian parsley
- about a half of a bunch of celery.I don't chop up any of this - I just break the celery stalks in half with my hands and throw them in. I also do this with the carrots.
- peppercorns - Just throw them in whole
I salt the broth after it has been cooking for a while - I've heard that if you throw salt in too early, it might make the broth cloudy. I've never wanted to test if this was true or not ( why waste good food?) but I just have always done it that way.
Step 4: Add Water
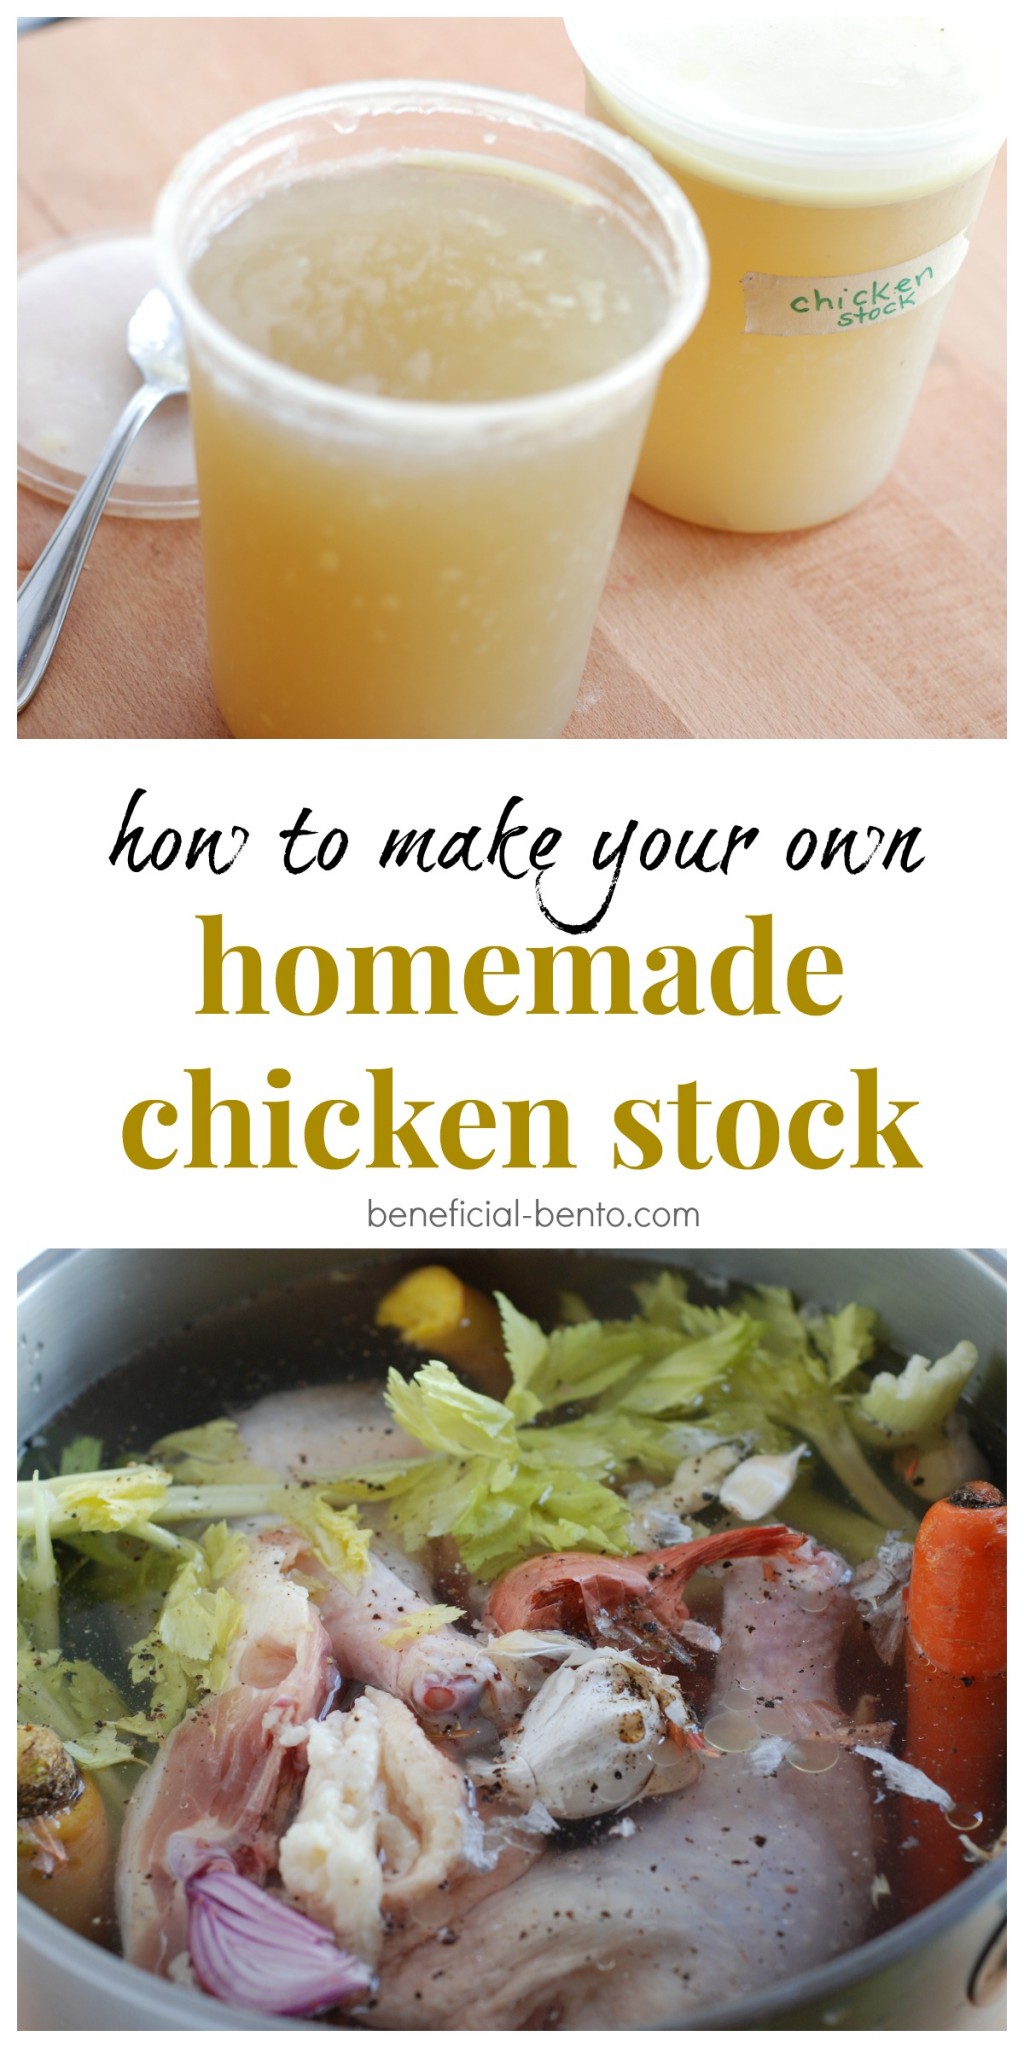
Last of all, fill it with water. Don't worry about carrying that giant pot over to the sink - fill up a pitcher and pour it in until it more than covers all the meat and veggies. It should look like this:
Step 5: Simmer for 2 Hours ( or More)
Now all you have to do is bring it to a boil - this will probably take longer than you think, just because it's so huge! After it comes to a rolling boil, reduce the heat to medium-low, and let it simmer for about 2 hours or even more. you can put a lid on it, but you will have to check it frequently so it doesn't boil over. I usually don't bother to put a lid on mine. Don't forget to add the salt at some point! I add roughly 2 tablespoons or so - just add and taste until it seems right to you.
How to Prepare and Store Your Chicken Stock
- After it's ready, take it off the heat. You'll know it's ready when the meat is so tender it literally falls right off the bones, and your house is filled with the most wonderful aromas.
- Take out the meat, veggies, and peppercorns ( this is where that big steamer basket inside the stock pot would come in very handy). Since I don't have a steamer basket, I just use a big slotted spoon to remove most of the pieces, and with a helper I pour the contents of the pot into a big colander sitting inside the biggest bowl I have in the house. I lift the colander out, and now I have a big bowl of delicious broth.
- I further strain out the odd garlic skin or peppercorn that slipped by me the first time with a small strainer with a handle.
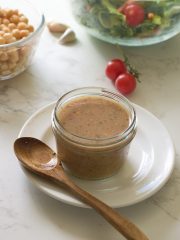
- Then I use a fat separator to remove as much fat as I can.
- At this point you can pour the completed broth into freezer containers, but don't freeze them just yet.
Here are some of the tools I mentioned - fat separator, slotted spoon, small strainer, and freezer containers to give you an idea of what they look like:
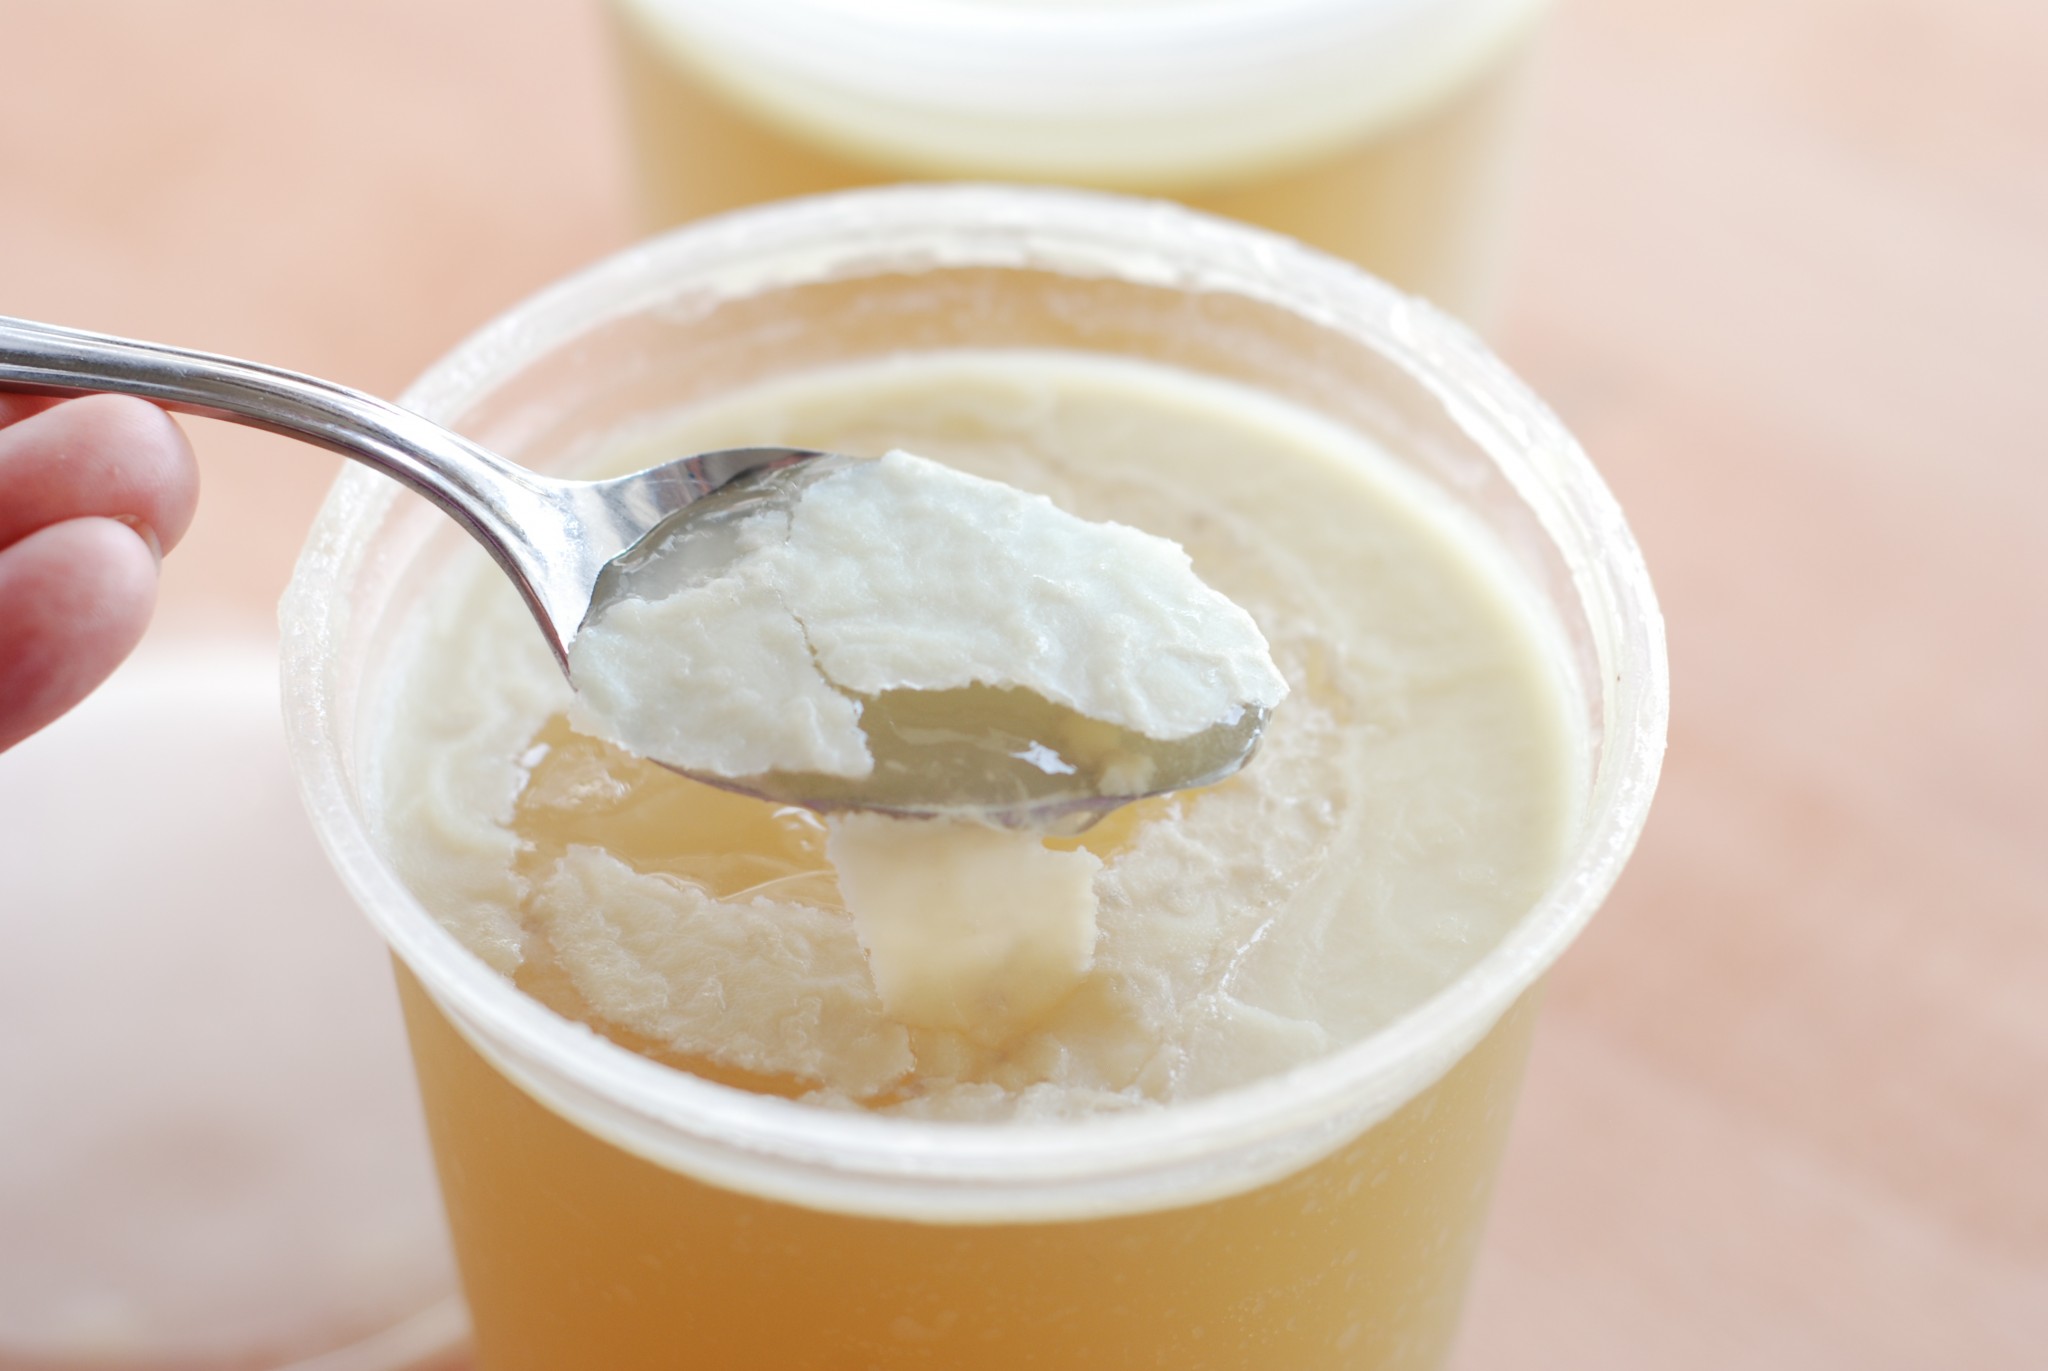
6. I usually chill the containers of stock before I put them in the freezer so I can skim off any extra fat that solidifies on the top, like this:
7. Now the containers are ready to label and store in the freezer.
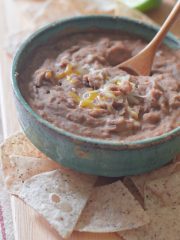
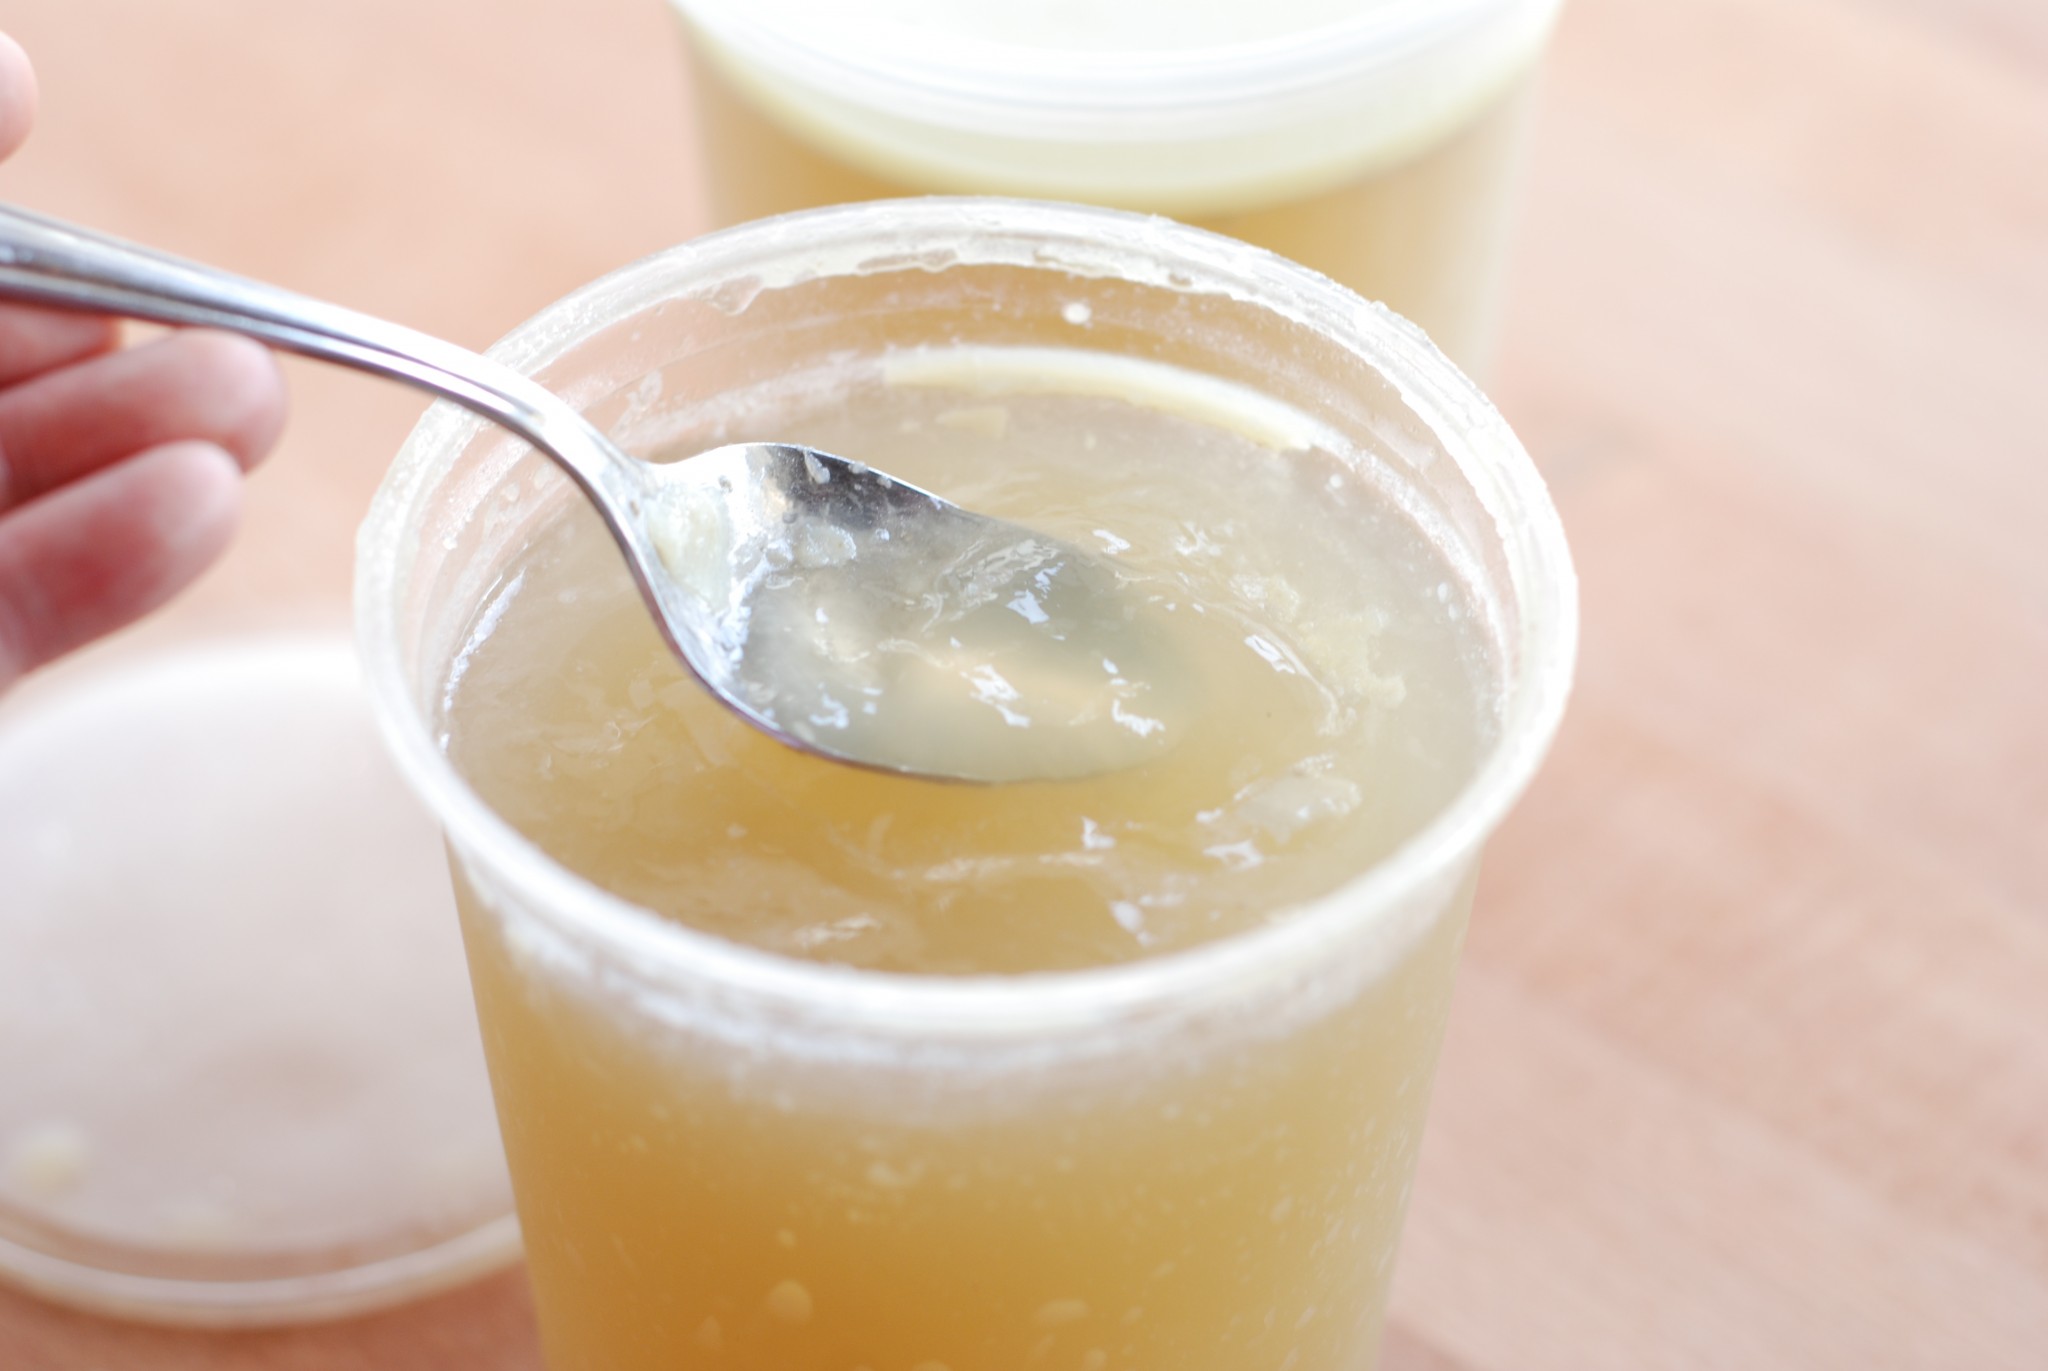
This is what a really good, protein-rich bone broth should look like when it's cold - that gelatinous texture is a sign that it has a healthy dose of protein and glucosamine! And don't worry - it returns to a thin, liquid state when it's hot.
Check out a few of my recipes that are fantastic with homemade chicken stock:
I hate onions Bob says
My mama used to put onions in her chicken liquid and I through up a little each time she made me drink it. I am giddy with chicken pocks that you don't use onions. Just make sure you also eliminate leeks, chives, shallots and tulip bulbs. Garlic is ok though. All I ever wanted was a chance
I.H.O. Bob
beneficialbento says
Oh but Bob, I have to include just a little shallot in my stock. It's not the same without it! But don't worry, shallots are actually in the garlic family, so it's not even an onion at all. You won't throw up even a little when you taste it 🙂